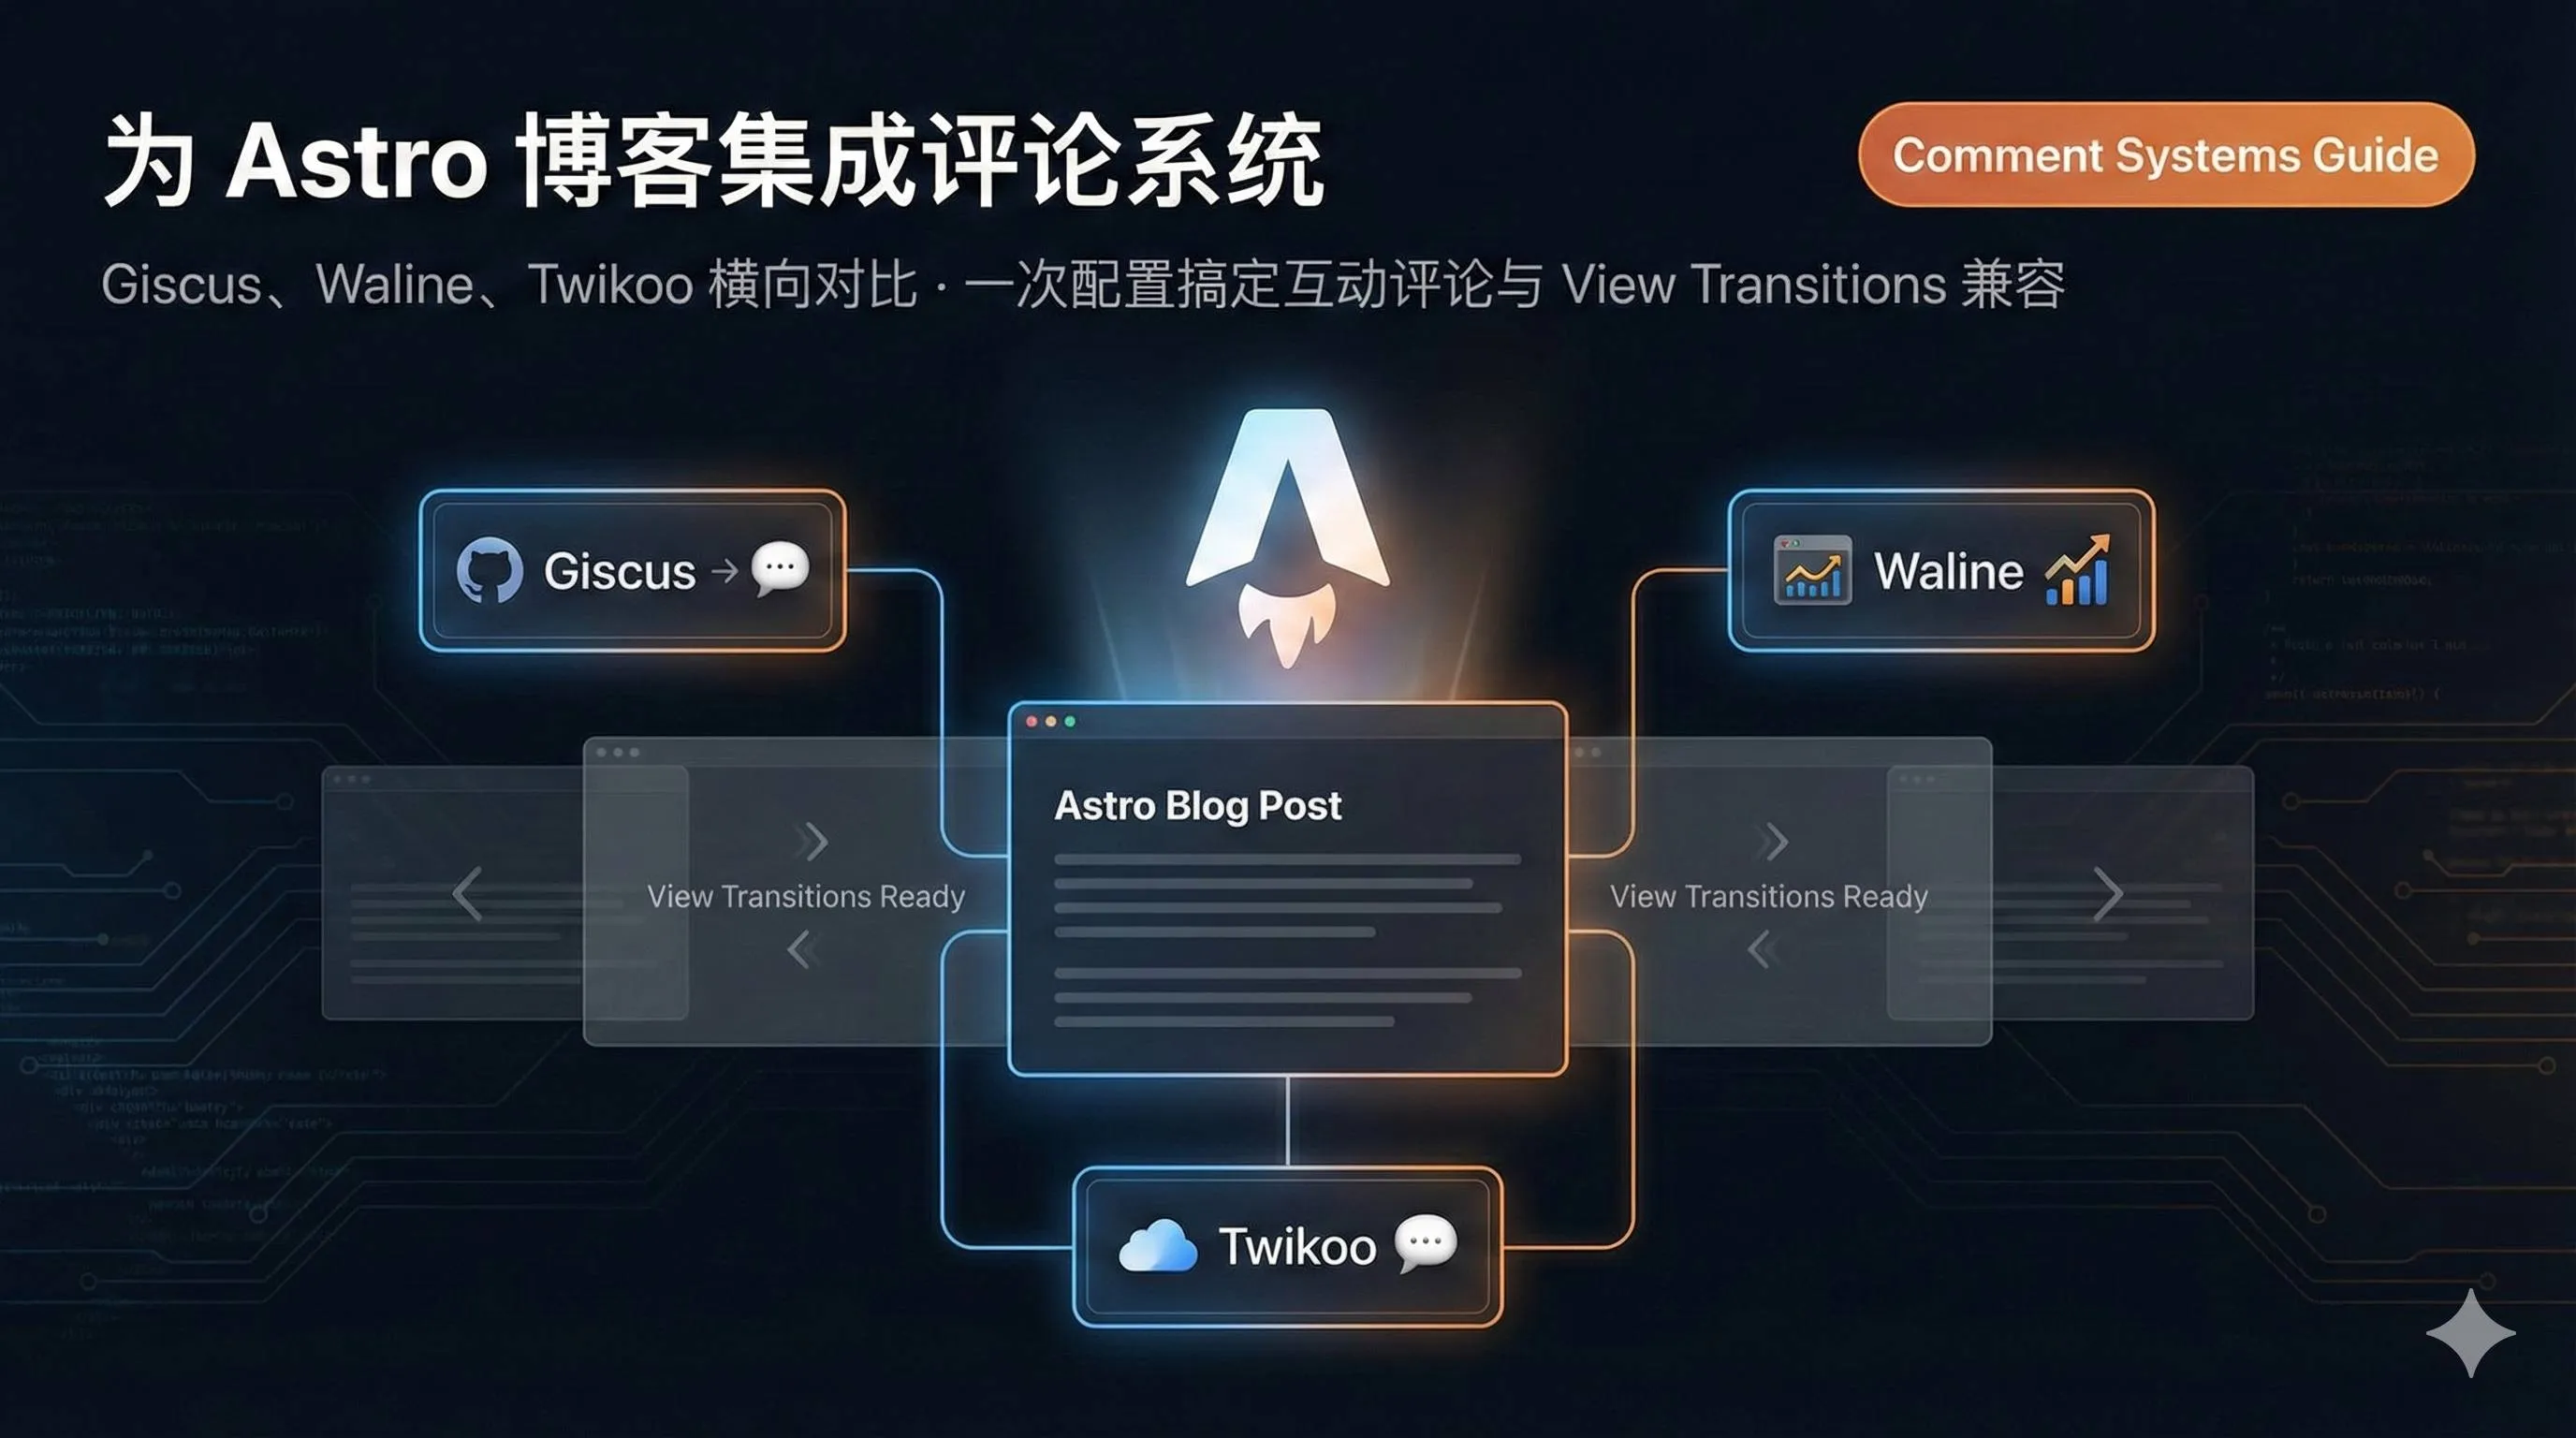
Integrating Comment Systems in Astro Blogs: Giscus, Waline, and Twikoo Guide
Adding comments to my Astro blog took way longer than I expected.
At first, I thought it would be simple—just integrate a comment system, right? But when I actually started, I discovered there were too many options: Giscus, Waline, Twikoo, Disqus… Each claimed to be the best, and each had completely different configuration methods. What’s worse, after finally following a tutorial and getting it set up, I opened my blog and saw: comments displaying properly. Two seconds of happiness, then I clicked to another article, and the comments disappeared.
Later I learned this was caused by Astro’s View Transitions routing. When pages switched, the comment component didn’t reload, creating “Schrödinger’s comments”—you never knew if they’d be there until you clicked.
If you’re experiencing similar issues or struggling to choose a comment system, this article should help. I’ll compare three mainstream solutions (Giscus, Waline, Twikoo), provide complete Astro integration code, and solve View Transitions compatibility issues. After reading, you’ll be ready to implement it yourself in 10 minutes.
Comparing Comment Systems: Which to Choose?
Honestly, I’ve tried all three systems, and each has its pros and cons. Let’s start with a comparison table:
| Comparison | Giscus | Waline | Twikoo |
|---|---|---|---|
| Data Storage | GitHub Discussions | LeanCloud/PostgreSQL/MySQL | Various cloud services (Tencent Cloud, Vercel, etc.) |
| Deployment Cost | Completely free | Free (LeanCloud dev edition 1GB) | Free |
| User Barrier | Requires GitHub account login | Anonymous or social login | Anonymous comments |
| Features | Basic comments + Reactions | Markdown, emojis, admin dashboard, analytics | Email notifications, anti-spam |
| Technical Difficulty | Low (pure frontend) | Medium (requires backend deployment) | Medium (requires cloud function setup) |
| Best For | Tech blogs, open source projects | Personal blogs, community forums | Personal blogs |
My Recommendations
The table might still be confusing, so let me be more specific:
If your blog is primarily for developers, like technical tutorials or open source project documentation, choose Giscus. The reason is simple: your readers already have GitHub accounts, so logging in with GitHub is actually more convenient. Plus, Giscus is a pure frontend solution that doesn’t require backend deployment, making configuration super simple—done in 5 minutes.
If your blog targets general audiences, like lifestyle blogs, photography, or travel journals, choose Waline or Twikoo. Both support anonymous comments, lowering the barrier to participation—no registration or login required, just a nickname and email. Waline has a more powerful admin dashboard suitable for blogs with many comments; Twikoo is lighter and slightly simpler to deploy.
If you want zero cost like me, go with Giscus without hesitation. It relies entirely on GitHub’s free services, requiring no additional database or paid cloud services, not even server rental. While Waline also has a free tier (LeanCloud dev edition with 1GB storage), you might need to upgrade to a paid plan if your blog traffic grows.
If you need a powerful admin dashboard, like comment moderation, analytics, and spam filtering, choose Waline. It has a dedicated management panel for batch comment processing and viewing access statistics, with an experience similar to WordPress comment plugins.
In summary: use Giscus for tech blogs, Waline for lifestyle blogs, and Twikoo for minimalist setups.
Giscus Integration Tutorial: The Simplest Solution
Giscus is my top recommendation, especially for tech blogs. It has the simplest configuration of the three systems, requires no backend deployment or database, and is completely based on GitHub’s free services.
Prerequisites
Before integrating Giscus, complete the following preparations:
1. Create a public GitHub repository
You can use your blog’s source code repository directly or create a new repository specifically for comments (like blog-comments). Note it must be a public repository—comments won’t display in private repositories.
2. Enable Discussions feature
Go to the repository’s Settings page, scroll down to the Features section, and check Discussions. This feature is disabled by default and must be manually enabled.
3. Install the giscus app
Visit https://github.com/apps/giscus, click Install, and select your repository. This step authorizes the giscus bot to access your repository, allowing it to automatically create and manage Discussions.
4. Configure Discussion categories
Open the repository’s Discussions page and click the Categories settings in the upper right corner. It’s recommended to create an Announcements type category (like “Comments”), so only you and the giscus bot can create comment threads while others can only reply, avoiding spam content.
Getting Configuration Parameters
After completing preparations, visit https://giscus.app, and fill in the information according to the page prompts:
- Repository name: Fill in
your-username/repository-name, likezhangsan/blog-comments - Page-Discussion mapping: Recommend choosing
pathname, so each page automatically creates a corresponding Discussion based on URL path - Discussion category: Select the Announcements category you just created
- Theme: Choose
lightordark, or selectpreferred_color_schemefor auto-adaptation
After completing, configuration code will be generated at the bottom of the page, including parameters like data-repo, data-repo-id, data-category-id, etc. Record these parameters for later use.
Astro Integration Code
Now for the most critical part: creating the Giscus component in your Astro project. Create a new Giscus.astro file in the src/components directory and paste the following code:
---
// src/components/Giscus.astro
---

<div class="giscus"></div>

<script>
  function loadGiscus() {
    const script = document.createElement('script');
    script.src = 'https://giscus.app/client.js';
    script.setAttribute('data-repo', 'your-username/your-repo'); // Change to your repository
    script.setAttribute('data-repo-id', 'your-repo-id'); // Change to your repo-id
    script.setAttribute('data-category', 'Comments');
    script.setAttribute('data-category-id', 'your-category-id'); // Change to your category-id
    script.setAttribute('data-mapping', 'pathname');
    script.setAttribute('data-reactions-enabled', '1');
    script.setAttribute('data-emit-metadata', '0');
    script.setAttribute('data-input-position', 'bottom');
    script.setAttribute('data-theme', 'light');
    script.setAttribute('data-lang', 'en');
    script.setAttribute('crossorigin', 'anonymous');
    script.async = true;

    const container = document.querySelector('.giscus');
    if (container) {
      container.innerHTML = ''; // Clear container to avoid duplicate loading
      container.appendChild(script);
    }
  }

  // Initialize on first page load
  loadGiscus();

  // [KEY] Listen for Astro's view transition event, reload comments when pages switch
  document.addEventListener('astro:page-load', loadGiscus);
</script>

<style>
  .giscus {
    margin-top: 2rem;
  }
</style>
Note the document.addEventListener('astro:page-load', loadGiscus); line—this is the key to solving the View Transitions routing issue. Astro triggers the astro:page-load event when pages switch. By listening to this event and reloading the comment component each time, comments won’t disappear.
Using in Article Pages
Open your blog article template file (usually src/pages/blog/[...slug].astro or similar path) and import the Giscus component after the article content:
---
import Giscus from '@/components/Giscus.astro';
// ...other imports
---

<article>
  <!-- Blog article content -->
  <h1>{title}</h1>
  <div>{content}</div>
</article>

<!-- Comments section -->
<Giscus />
Save, start the development server (npm run dev), open any article, scroll to the bottom, and you should see the comment box. Try jumping between different articles—comments should display normally without disappearing.
Waline Integration Tutorial: The Most Feature-Rich
If you think Giscus’s GitHub login barrier is too high and want readers to comment anonymously, try Waline. It’s much more feature-rich than Giscus, with an admin dashboard, analytics, email notifications, etc., though configuration is slightly more complex, requiring backend service deployment.
Backend Deployment (Vercel + LeanCloud)
Waline’s backend can be deployed on multiple platforms, with the most common being the Vercel + LeanCloud combination, completely free.
Step 1: Create LeanCloud Application
- Visit https://console.leancloud.cn/, register an account (international version recommended, domestic version requires domain ICP filing)
- Click “Create Application,” select “Development Edition” (free 1GB storage, sufficient for personal blogs)
- After creation, go to the application’s “Settings → Application Credentials” page and record these three values:
- App ID (will be filled into
LEAN_ID) - App Key (will be filled into
LEAN_KEY) - Master Key (will be filled into
LEAN_MASTER_KEY)
- App ID (will be filled into
Step 2: Deploy Waline on Vercel
- Visit https://vercel.com/new/clone?repository-url=https://github.com/waline/waline/tree/main/example, this is Waline’s official one-click deployment link
- Log in to Vercel with your GitHub account
- Fill in the project name (like
my-waline), click Create - Vercel will automatically create the repository and deploy, taking about 1-2 minutes
- Click “Settings → Environment Variables,” add three environment variables:
LEAN_ID= your LeanCloud App IDLEAN_KEY= your LeanCloud App KeyLEAN_MASTER_KEY= your LeanCloud Master Key
- After saving, click “Deployments,” find the latest deployment record, click the three dots on the right, select “Redeploy” to redeploy
- After successful deployment, you’ll get a domain like
my-waline.vercel.app
Step 3: Bind Custom Domain (Important!)
Don’t skip this step. Vercel’s .vercel.app domain is blocked in China, so if you don’t bind your own domain, the comment service won’t be accessible domestically.
- Add a CNAME record at your domain service provider (like Alibaba Cloud, Tencent Cloud):
- Host record:
waline(or any name you prefer) - Record type:
CNAME - Record value:
cname.vercel-dns.com
- Host record:
- Return to Vercel, click “Settings → Domains,” enter your domain (like
waline.yourdomain.com), click Add - Wait for DNS propagation (usually minutes to hours), then you can access Waline using your own domain
Astro Frontend Integration
After deploying the backend, integrate the frontend code in your Astro project.
Step 1: Install Waline Client
npm install @waline/clientStep 2: Create Waline Component
Create a new Waline.astro file in the src/components directory:
---
// src/components/Waline.astro
---

<div id="waline"></div>

<script>
  import { init } from '@waline/client';
  import '@waline/client/style';

  function loadWaline() {
    const walineInstance = init({
      el: '#waline',
      serverURL: 'https://waline.yourdomain.com', // Change to your Waline domain
      path: window.location.pathname,
      lang: 'en',
      dark: 'auto', // Auto-adapt dark mode
      emoji: [
        '//unpkg.com/@waline/emojis@latest/weibo',
        '//unpkg.com/@waline/emojis@latest/bilibili'
      ],
      meta: ['nick', 'mail'], // Commenter info: nickname, email (hide URL)
      requiredMeta: ['nick'], // Required fields: nickname
      pageSize: 10,
    });

    // Return instance for later destruction
    return walineInstance;
  }

  // Store instance for destruction on page switch
  let walineInstance = null;

  // First page load
  if (document.readyState === 'loading') {
    document.addEventListener('DOMContentLoaded', () => {
      walineInstance = loadWaline();
    });
  } else {
    walineInstance = loadWaline();
  }

  // [KEY] View transitions compatibility
  document.addEventListener('astro:page-load', () => {
    // Destroy old instance
    if (walineInstance && walineInstance.destroy) {
      walineInstance.destroy();
    }
    // Reload
    walineInstance = loadWaline();
  });
</script>

<style>
  #waline {
    margin-top: 2rem;
  }
</style>
Note the astro:page-load event listener at the end—we not only reload comments but also destroy the old instance (walineInstance.destroy()) first to avoid memory leaks.
Step 3: Use in Article Pages
Like Giscus, import the Waline component in your article template:
---
import Waline from '@/components/Waline.astro';
---

<article>
  <!-- Article content -->
</article>

<Waline />
Register Admin Account
After deployment, visit https://waline.yourdomain.com/ui/register and register the first account. This account automatically becomes the administrator, allowing you to log into the admin dashboard to moderate comments and view analytics.
The admin dashboard is at https://waline.yourdomain.com/ui. After logging in with your admin account, you can batch delete spam comments, export data, etc. Very powerful functionality.
Twikoo Integration Tutorial: Lightweight and Clean
Twikoo is the lightest of the three systems, with flexible deployment options (supports Tencent Cloud, Vercel, Cloudflare Workers, etc.) and a clean, beautiful interface. If you don’t need Waline’s complex management features, Twikoo is a great choice.
Deploy Cloud Function (Cloudflare Workers)
Twikoo supports multiple deployment methods. Here I recommend Cloudflare Workers, completely free with stable domestic access.
Step 1: Install Twikoo
npm install twikooStep 2: Deploy to Cloudflare Workers
- Register a Cloudflare account (if you don’t have one)
- Go to Workers & Pages, click “Create Application → Create Worker”
- Name your Worker (like
my-twikoo), click Deploy - After successful deployment, click “Quick Edit,” delete the default code, paste Twikoo’s cloud function code (refer to Twikoo official documentation: https://twikoo.js.org/)
- Save and deploy, record the Worker domain (like
my-twikoo.your-subdomain.workers.dev)
Astro Frontend Integration
Create a new Twikoo.astro file in the src/components directory:
---
// src/components/Twikoo.astro
---

<div id="twikoo"></div>

<script>
  function loadTwikoo() {
    // Dynamically import Twikoo to avoid SSR issues
    import('twikoo').then((twikoo) => {
      twikoo.init({
        envId: 'https://my-twikoo.your-subdomain.workers.dev', // Change to your Worker domain
        el: '#twikoo',
        path: window.location.pathname,
        lang: 'en',
      });
    });
  }

  // First page load
  loadTwikoo();

  // [KEY] View transitions compatibility
  document.addEventListener('astro:page-load', () => {
    // Clear container to avoid duplicate rendering
    const container = document.getElementById('twikoo');
    if (container) {
      container.innerHTML = '';
      loadTwikoo();
    }
  });
</script>

<style>
  #twikoo {
    margin-top: 2rem;
  }
</style>
Import the Twikoo component in your article page:
---
import Twikoo from '@/components/Twikoo.astro';
---

<article>
  <!-- Article content -->
</article>

<Twikoo />
Astro Compatibility: View Transitions Pitfall
In all three system integration codes above, you may have noticed I added this line:
document.addEventListener('astro:page-load', loadComment);This is the key to solving Astro’s View Transitions routing issue. Without this line, the comment component only loads on first page entry, then disappears after clicking to other articles.
Why Does This Problem Occur?
Astro’s View Transitions feature is similar to Single Page Application (SPA) routing. When clicking links, Astro doesn’t reload the entire page but only replaces page content, making switching faster and smoother. But here’s the problem: traditional comment system scripts execute on page load, and if the page doesn’t refresh, the script doesn’t re-execute, so comments naturally “disappear.”
Solution
Astro provides a series of lifecycle events, with the most commonly used being astro:page-load, which triggers every time page content finishes loading (including first load and route switches). We just need to listen to this event and reinitialize the comment component each time it triggers.
document.addEventListener('astro:page-load', () => {
  // Reinitialize comments
  loadComment();
});
Other Solutions (Not Recommended)
There are two other solutions, but both have drawbacks:
Solution 1: Use transition:persist directive
Astro provides a transition:persist directive that keeps an element unchanged during page switches. Sounds perfect, but it actually causes comment chaos—because different articles have different comment content, keeping it unchanged results in Article A displaying Article B’s comments.
<!-- Not recommended! Causes comment chaos -->
<div id="comments" transition:persist>
  <Giscus />
</div>
Solution 2: Disable view transitions
If you really can’t get it working, you can disable View Transitions on blog article pages, returning page switching to traditional full-page refresh:
---
// src/pages/blog/[...slug].astro
// Don't import <ViewTransitions /> component
---
But this loses the smooth transition animation, not worth it.
Theme Switching Adaptation
If your blog supports dark mode switching, the comment system needs to switch themes accordingly. Using Giscus as an example:
document.addEventListener('theme-change', (e) => {
  const theme = e.detail.theme; // Get current theme (light/dark)

  // Send message to Giscus iframe to switch theme
  const iframe = document.querySelector('iframe.giscus-frame');
  if (iframe) {
    iframe.contentWindow.postMessage(
      { giscus: { setConfig: { theme } } },
      'https://giscus.app'
    );
  }
});
Waline and Twikoo have similar APIs, refer to their respective official documentation.
FAQ
Q1: What if Vercel is blocked?
A: This is the most common issue. Vercel’s .vercel.app domain suffers DNS pollution in China, making comment services inaccessible. The solution is to bind your own domain:
- Add CNAME record at domain service provider, pointing to
cname.vercel-dns.com - Add your domain in Vercel’s Settings → Domains
- After DNS propagation, access comment service using your own domain
Q2: Can comment data be migrated?
A: Yes, but it’s troublesome:
- Giscus data is stored in GitHub Discussions, can be exported as JSON via GitHub API
- Waline has data export functionality, can export as CSV or JSON from admin dashboard
- Twikoo supports data backup, can export to local storage
Migrating between different systems requires writing scripts to convert data formats, no ready-made tools exist.
Q3: How to prevent spam comments?
A: All three systems have anti-spam mechanisms:
- Giscus: Relies on GitHub’s anti-spam system, basically no need to worry
- Waline: Built-in Akismet anti-spam plugin, manual moderation in admin dashboard
- Twikoo: Supports keyword filtering, captcha, IP blacklist, etc.
Recommend enabling “comment moderation” feature, where new comments need admin approval before displaying.
Q4: Can I use multiple comment systems simultaneously?
A: Technically yes, but unnecessary. Multiple comment systems increase page load time, and comments scattered across different platforms aren’t conducive to management. If you really want to switch systems, recommend exporting old system data first, then importing to new system.
Q5: What if comments load slowly?
A: Several optimization suggestions:
- Use lazy loading: load comments when scrolling into view
- Enable CDN: Waline and Twikoo support CDN acceleration configuration
- Reduce Emoji packs: Waline loads multiple Emoji packs by default, can keep only commonly used ones
Summary
After all that, let’s summarize:
Choose Giscus if your blog primarily targets developers, or you want zero cost and zero maintenance. Simplest configuration, done in 5 minutes, native GitHub support.
Choose Waline if you need a powerful admin dashboard or want to lower comment barriers (anonymous comments). Suitable for high-traffic blogs with many comments.
Choose Twikoo if you prefer a lightweight, clean style and don’t need complex management features. Flexible deployment, beautiful interface.
My own tech blog uses Giscus because readers are all developers, GitHub login isn’t a barrier but rather more convenient. Plus it’s completely free and worry-free.
After choosing a comment system, follow the tutorial to configure it—takes 10 minutes. Once your blog has comments, it has interaction and warmth. Reader messages, suggestions, and complaints will all motivate you to keep writing.
If you have other questions, feel free to leave a comment (haha, assuming you’ve already integrated a comment system). Good luck with your configuration!
FAQ
Which comment system should I choose for my Astro blog?
• Best for tech blogs
• GitHub login, free, 5-min setup
Waline:
• Full-featured with admin dashboard
• Requires backend
Twikoo:
• Lightweight, anonymous comments
• Requires cloud functions
Choose based on your audience and needs.
How do I integrate Giscus into Astro?
2) Install giscus app
3) Get repo ID and category
4) Add Giscus component to Astro layout
5) Configure data attributes
Complete setup takes 5 minutes.
Why do comments disappear with Astro View Transitions?
Fix: listen to `astro:page-load` event and reload comment component: `document.addEventListener('astro:page-load', () => { /* reload comments */ })`.
Is Giscus really free?
Uses GitHub Discussions for storage:
• No backend needed
• No API costs
Perfect for personal blogs and open source projects.
Can I use Waline without a backend?
• LeanCloud
• PostgreSQL
• MySQL
• Or MongoDB
However, LeanCloud has a free dev tier (1GB storage) which is sufficient for personal blogs.
How do I prevent spam comments?
• Relies on GitHub's anti-spam
Waline:
• Built-in Akismet plugin
• Manual moderation
Twikoo:
• Keyword filtering
• Captcha
• IP blacklist
Enable comment moderation for all systems.
Can I migrate comments between systems?
Export methods:
• Giscus: export via GitHub API
• Waline: export CSV/JSON from admin
• Twikoo: export to local storage
Write scripts to convert data formats between systems.
12 min read · Published on: Dec 4, 2025 · Modified on: Mar 18, 2026
Related Posts
From Copilot to Antigravity: Mastering the Agent-First Development Paradigm

From Copilot to Antigravity: Mastering the Agent-First Development Paradigm
AI Keeps Writing Wrong Code? Master These 5 Prompt Techniques to Boost Efficiency by 50%

AI Keeps Writing Wrong Code? Master These 5 Prompt Techniques to Boost Efficiency by 50%
Cursor Advanced Tips: 10 Practical Methods to Double Development Efficiency (2026 Edition)

Comments
Sign in with GitHub to leave a comment