Docker Container Host Access: Complete Guide to host.docker.internal
Introduction
Friday afternoon, 3 PM. I was staring at the terminal error message: Connection refused.
Honestly, it was frustrating. MySQL was running fine on my local machine—Navicat could connect, command line worked—but my containerized app just couldn’t reach it. I triple-checked the connection string: localhost:3306. Username and password were correct. What was going wrong?
Turns out, the problem was those three words: localhost.
If you’ve encountered this before—using localhost or 127.0.0.1 inside a Docker container to connect to host services always fails—this article is for you. I’ll explain in plain terms: why localhost inside containers isn’t what you think it is, and how to elegantly solve this with the “magic domain” host.docker.internal.
What you’ll learn:
- The real principle behind container network isolation (no jargon)
- Correct configuration methods for Mac, Windows, and Linux
- A practical troubleshooting checklist (for next time you need it)
Why Doesn’t localhost Work?
Short answer: containers have their own independent network world.
Sounds abstract? Let me put it differently. Think of a container as an independent little house with its own address, its own mailbox, its own everything. When you call “localhost” or type “127.0.0.1” inside the container, you’re actually looking for the house itself, not the host machine outside.
Specifically:
- On the host machine,
localhostpoints to the host itself - Inside a container,
localhostpoints to the container itself - They’re two completely different things
I was pretty surprised when I first learned this. MySQL was running fine on my computer, so why couldn’t the container connect? Because of this reason—the container was looking for MySQL in its own world, where it obviously didn’t exist.
Container Network Isolation Mechanism
Docker creates an independent “network namespace” for each container (don’t let the term scare you). Think of it this way:
Each container has its own network interface, its own IP address, its own routing table. Like you and your neighbors—same building, but separate wifi passwords, no interference.
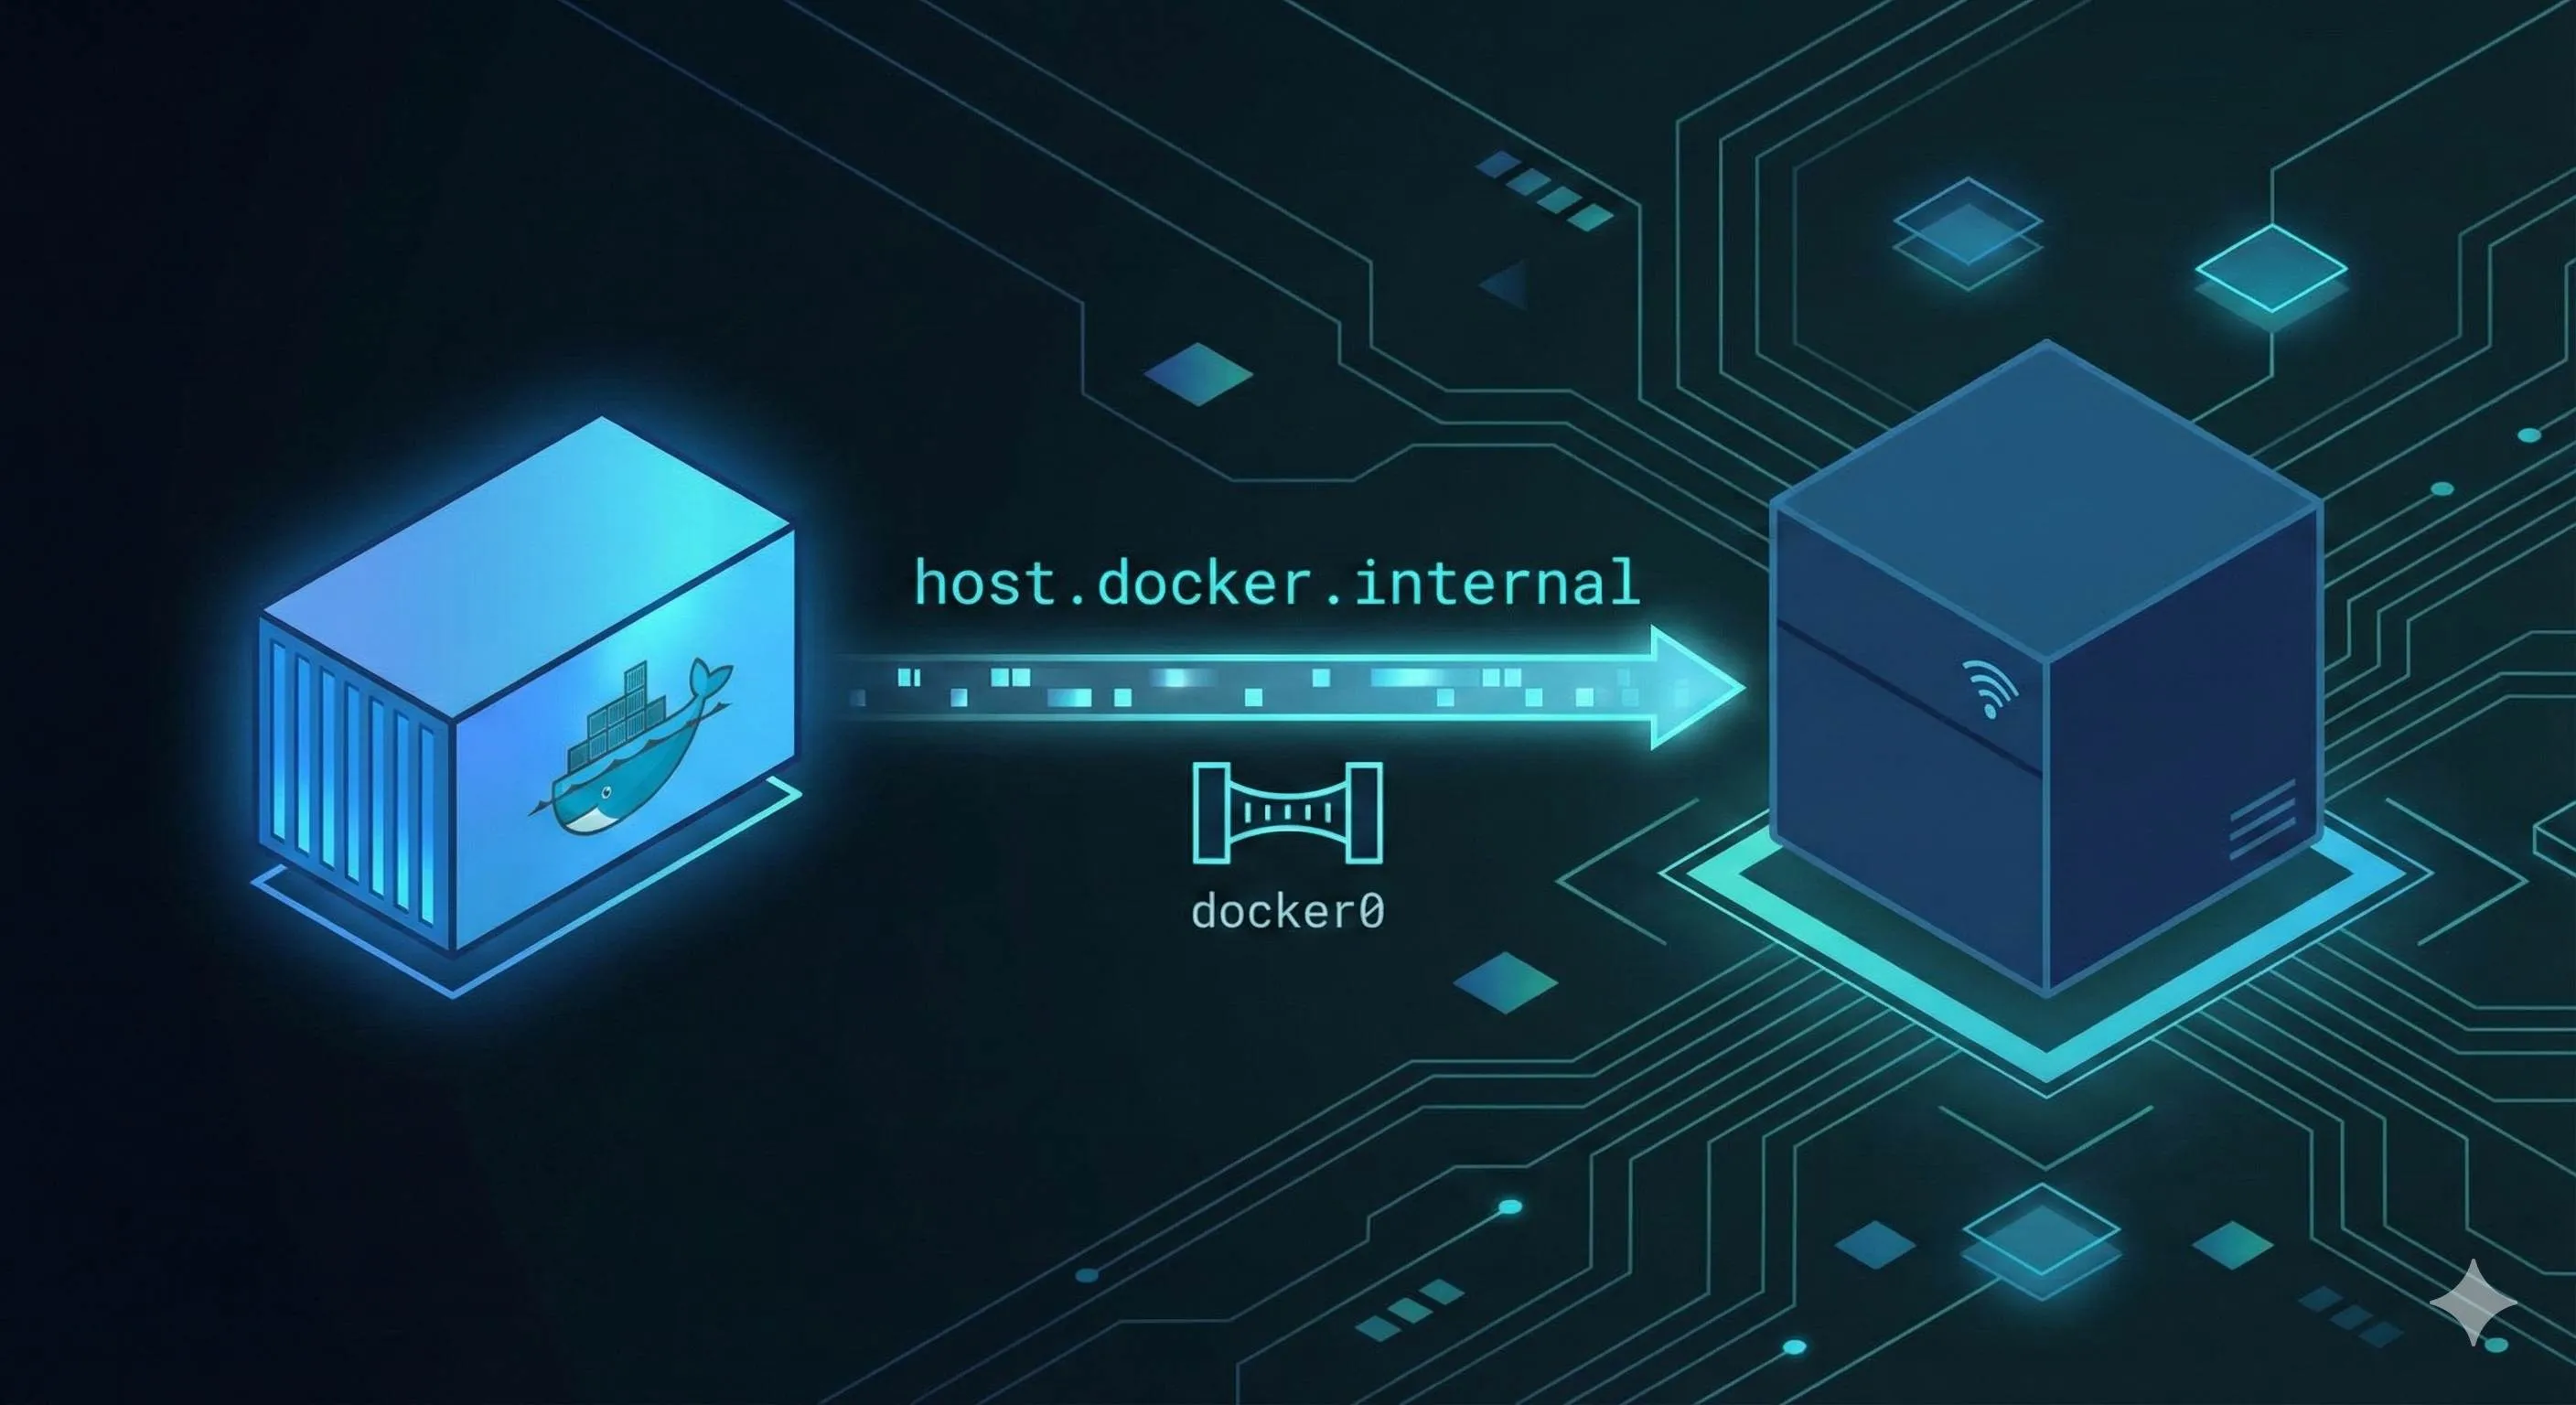
Containers and the host communicate through a virtual bridge called docker0. Container IPs are usually like 172.17.0.x, and from the container’s perspective, the host IP is 172.17.0.1 (the bridge’s gateway address).
When you access localhost inside a container, you’re accessing the container’s 127.0.0.1, not the host’s 127.0.0.1. Naturally, it can’t reach the host’s MySQL.
Here are some actual error messages to illustrate:
Error: connect ECONNREFUSED 127.0.0.1:3306Or:
Can't connect to MySQL server on 'localhost' (111)This is the classic error from “using localhost inside a container to connect to host services.”
What is host.docker.internal?
Since localhost doesn’t work, how do we let containers access the host?
Docker provides an elegant solution: host.docker.internal. This is a special domain name that automatically resolves to the host’s IP address. Think of it as a “nickname” for the host—no matter what the actual host IP is, using this name will find it.
For example, if your MySQL listens on port 3306 on the host, just connect like this inside the container:
mysql://user:[email protected]:3306/dbnameNo need to worry whether the host IP is 192.168.1.100 or 10.0.0.5, or whether the IP changes in different network environments—host.docker.internal automatically points to the correct address.
Pretty convenient, right?
Version and Platform Support
But there’s a catch you need to know about.
Mac and Windows Users (Docker Desktop)
If you’re using Docker Desktop (the one with GUI), version 18.03 (March 2018) onwards natively supports host.docker.internal. Works out of the box, no extra configuration needed.
Just write host.docker.internal directly in your code:
const mysql = require('mysql2');
const connection = mysql.createConnection({
  host: 'host.docker.internal',  // That simple
  port: 3306,
  user: 'root',
  password: 'your_password'
});
Linux Users (Docker Engine)
Linux isn’t so lucky. Since Docker runs directly on the system in Linux, without the VM layer that Mac/Windows have, host.docker.internal doesn’t exist by default.
Good news: starting from Docker Engine 20.10 (December 2020), you can manually enable it through configuration. How? We’ll cover that in the next section.
If your Docker version is older, there are alternative solutions:
- Use
172.17.0.1(Docker’s default bridge gateway IP) - Use the host’s actual IP in the Docker network
- Use
docker.for.mac.host.internal(Mac older versions only)
Configuration Methods for Three Platforms
This section has the practical configs you can copy.
Mac/Windows Configuration (Docker Desktop)
Simplest case.
Method 1: Use Directly in Code
No extra configuration needed, just write host.docker.internal in your code:
# docker-compose.yml
version: '3'
services:
  app:
    image: myapp:latest
    environment:
      - DB_HOST=host.docker.internal  # Use directly
      - DB_PORT=3306
Method 2: Explicit Declaration (Optional)
Though not required, you can add extra_hosts if you want it explicit:
version: '3'
services:
  app:
    image: myapp:latest
    extra_hosts:
      - "host.docker.internal:host-gateway"
    environment:
      - DB_HOST=host.docker.internal
host-gateway is new syntax in Docker 20.10+, meaning “host gateway address.”
Using docker run command:
docker run -d \
  --add-host=host.docker.internal:host-gateway \
  -e DB_HOST=host.docker.internal \
  myapp:latest
Linux Configuration (Docker Engine)
Slightly more complex on Linux, requires manual config.
Method 1: Recommended - Using host-gateway
Most universal method, works on Docker 20.10+ across all platforms:
# docker-compose.yml
version: '3'
services:
  app:
    image: myapp:latest
    extra_hosts:
      - "host.docker.internal:host-gateway"  # Key config
    environment:
      - DB_HOST=host.docker.internal
      - DB_PORT=3306
Using docker run:
docker run -d \
  --add-host=host.docker.internal:host-gateway \
  -e DB_HOST=host.docker.internal \
  myapp:latest
The advantage of this approach is cross-platform compatibility—same config works on Mac, Windows, and Linux without platform-specific modifications.
Method 2: Fallback - Using Docker Bridge IP
If host-gateway isn’t available (Docker too old), use the default bridge gateway:
version: '3'
services:
  app:
    image: myapp:latest
    extra_hosts:
      - "host.docker.internal:172.17.0.1"  # Docker default gateway
    environment:
      - DB_HOST=host.docker.internal
172.17.0.1 is the default gateway for Docker bridge network. This IP is correct in most cases, unless you’ve modified Docker’s default network config.
Method 3: Ultimate Solution - host Network Mode
If the above methods don’t work, there’s a nuclear option:
docker run -d \
  --network=host \
  -e DB_HOST=localhost \  # Can use localhost now
  myapp:latest
Or in docker-compose:
version: '3'
services:
  app:
    image: myapp:latest
    network_mode: "host"  # Use host network
    environment:
- DB_HOST=localhost # Can use localhost directlyAdvantages: Simple and crude, container directly uses host’s network stack, localhost is the real localhost.
Disadvantages:
- Breaks container network isolation
- Container and host share ports, potential conflicts (e.g., container wants 8080 but host already uses it)
- Linux only, Mac/Windows don’t support it
- Not recommended for production, only for local development debugging
Cross-Platform Universal Config (Strongly Recommended)
If your team has Mac and Linux users, or your code runs in different environments, use this config:
# docker-compose.yml
version: '3'
services:
  app:
    image: myapp:latest
    extra_hosts:
      - "host.docker.internal:host-gateway"  # All platforms recognize this
    environment:
      - DB_HOST=host.docker.internal
      - DB_PORT=3306
      - DB_USER=root
      - DB_PASSWORD: your_password
This config works on all platforms with Docker 20.10+ (released late 2020). If your Docker version is still pre-2020… honestly, time to upgrade.
Host Service Configuration Essentials
Configuring the container side isn’t enough.
The host services also need proper configuration, or connections will still fail. Many people overlook this, so let’s address it separately.
Services Must Listen on the Correct Address
This is the most common pitfall.
Many services default to listening only on 127.0.0.1, meaning they only accept connections from the local machine. But Docker containers aren’t considered “local”—requests coming from the Docker bridge will be rejected.
You need services to listen on 0.0.0.0, meaning “accept connections from all network interfaces.”
MySQL Configuration
Find the MySQL config file, usually at:
- Linux:
/etc/mysql/mysql.conf.d/mysqld.cnf - Mac (Homebrew):
/usr/local/etc/my.cnf - Windows:
C:\ProgramData\MySQL\MySQL Server 8.0\my.ini
Modify bind-address:
[mysqld]
# Might originally be
# bind-address = 127.0.0.1

# Change to
bind-address = 0.0.0.0
Restart MySQL after changes:
# Linux
sudo systemctl restart mysql

# Mac
brew services restart mysql

# Windows
# Restart MySQL service in Services Manager
Redis Configuration
Edit redis.conf (usually at /etc/redis/redis.conf or /usr/local/etc/redis.conf):
# Find this line
bind 127.0.0.1 -::1

# Change to
bind 0.0.0.0
Restart Redis:
# Linux
sudo systemctl restart redis

# Mac
brew services restart redis
PostgreSQL Configuration
Edit postgresql.conf:
listen_addresses = '*' # Listen on all addressesAlso modify pg_hba.conf to allow Docker subnet access:
# Add this line to allow 172.17.0.0/16 subnet
host    all             all             172.17.0.0/16           md5
Configure User Permissions (MySQL Specific)
Even if MySQL listens on 0.0.0.0, there’s still the user permissions hurdle.
MySQL user permissions are managed by “username@source_host”. For example, root@localhost and root@% are two different users.
If your MySQL user only allows localhost access, containers still can’t connect. You need to grant permissions for Docker subnet access:
-- Option 1: Allow from any host (simple but less secure)
GRANT ALL PRIVILEGES ON *.* TO 'your_user'@'%' IDENTIFIED BY 'your_password';

-- Option 2: Only allow Docker subnet (more secure)
GRANT ALL PRIVILEGES ON *.* TO 'your_user'@'172.17.0.%' IDENTIFIED BY 'your_password';

-- Flush privileges
FLUSH PRIVILEGES;
For MySQL 8.0+, the syntax is slightly different:
-- First create user
CREATE USER 'your_user'@'%' IDENTIFIED BY 'your_password';

-- Then grant
GRANT ALL PRIVILEGES ON *.* TO 'your_user'@'%';

FLUSH PRIVILEGES;
Firewall Configuration
Some systems’ firewalls might block Docker containers from accessing host services.
Check firewall status:
# Linux (ufw)
sudo ufw status

# Linux (firewalld)
sudo firewall-cmd --state
Allow Docker subnet access (using MySQL port 3306 as example):
# ufw
sudo ufw allow from 172.17.0.0/16 to any port 3306

# firewalld
sudo firewall-cmd --permanent --zone=public --add-rich-rule='rule family="ipv4" source address="172.17.0.0/16" port port="3306" protocol="tcp" accept'
sudo firewall-cmd --reload
Security Recommendations
Listening on 0.0.0.0 does have security risks—your service becomes exposed to other machines on the network.
Production Environment Approach:
Listen only on specific interface: If you know which interface Docker uses, listen only on that
bind-address = 172.17.0.1Combined with firewall: Only allow Docker subnet access, block other sources
Use dedicated database containers: Don’t run databases on host, directly start database containers with Docker Compose, app and database containers in the same network, more secure
Local Development Environment:
Honestly, for local development, listening on 0.0.0.0 isn’t a big deal. Your computer isn’t a server, external networks can’t reach it. Don’t stress too much.
Common Issues Troubleshooting Checklist
Hit a connection problem? Don’t panic, troubleshoot step by step with this checklist.
Issue 1: Connection refused
Most common error. Error message looks like:
Error: connect ECONNREFUSED host.docker.internal:3306Or:
Can't connect to MySQL server on 'host.docker.internal' (111)Possible Causes and Troubleshooting Steps:
Step 1: Check if Host Service is Running
On the host machine:
# Check MySQL
sudo systemctl status mysql    # Linux
brew services list              # Mac

# Check if port is listening
netstat -an | grep 3306
# Or
lsof -i :3306
If service isn’t running, start it first.
Step 2: Check Service Listening Address
On host machine:
# Check which address MySQL is listening on
sudo netstat -tlnp | grep 3306
Output should look like:
tcp 0 0 0.0.0.0:3306 0.0.0.0:* LISTEN 1234/mysqldCheck the third column. If it’s 0.0.0.0:3306, listening on all addresses, no problem. If it’s 127.0.0.1:3306, that’s the issue—only listening locally, container can’t connect.
Solution: Follow the “Host Service Configuration” section above, change bind-address to 0.0.0.0.
Step 3: Check Firewall
Temporarily disable firewall to test:
# Linux (ufw)
sudo ufw disable

# Linux (firewalld)
sudo systemctl stop firewalld

# Mac
# System Preferences -> Security & Privacy -> Firewall -> Off
If disabling firewall allows connection, it’s a firewall issue. Remember to configure firewall rules as mentioned earlier, then re-enable firewall.
Issue 2: Connection timeout
Error message:
Error: connect ETIMEDOUT host.docker.internal:3306Timeout is usually trickier than refusal, meaning packets were sent but didn’t return.
Possible Causes and Troubleshooting Steps:
Step 1: Check if host.docker.internal Resolves
Inside container:
# Enter container
docker exec -it your_container sh

# Ping it
ping host.docker.internal
If ping fails or shows “unknown host”, host.docker.internal isn’t configured properly.
Linux users look here: Confirm your docker-compose.yml or docker run command includes --add-host=host.docker.internal:host-gateway.
Step 2: Check Port Number
Are you sure it’s 3306? What if MySQL changed ports?
Confirm on host:
# Check MySQL's actual port
sudo netstat -tlnp | grep mysqld
Step 3: Test Container-to-Host Network Connectivity
Inside container:
# Test if port is reachable
telnet host.docker.internal 3306

# If telnet not available, use nc
nc -zv host.docker.internal 3306
If port isn’t reachable, check firewall and service config again.
Issue 3: Unknown host (cannot resolve host.docker.internal)
Error message:
getaddrinfo ENOTFOUND host.docker.internalThis means DNS resolution failed, container doesn’t recognize the host.docker.internal domain.
Solution:
Check container config, add extra_hosts:
services:
  app:
    extra_hosts:
      - "host.docker.internal:host-gateway"
Or with docker run:
docker run --add-host=host.docker.internal:host-gateway ...Issue 4: Authentication Failed (Access denied)
Error message:
Access denied for user 'root'@'172.17.0.2' (using password: YES)This means MySQL connection succeeded, but user permissions are wrong.
Solution:
Grant MySQL user permissions:
-- Check current user permissions
SELECT user, host FROM mysql.user WHERE user='root';

-- If only root@localhost exists, need to create root@% or [email protected].%
CREATE USER 'root'@'%' IDENTIFIED BY 'your_password';
GRANT ALL PRIVILEGES ON *.* TO 'root'@'%';
FLUSH PRIVILEGES;
Issue 5: Cross-Platform Config Inconsistency
Team has Mac and Linux users sharing the same docker-compose.yml, works on Mac but fails on Linux.
Solution:
Unify using host-gateway approach, universal across platforms:
services:
  app:
    extra_hosts:
      - "host.docker.internal:host-gateway"
Ensure Docker version ≥20.10. If team members have older Docker, push them to upgrade.
Quick Troubleshooting Mantra
When encountering connection issues, check in this order:
- Service running? →
systemctl status/brew services list - Listening correctly? →
netstat -tlnp, check if0.0.0.0or127.0.0.1 - Container configured? → Check
extra_hostsor--add-host - DNS working? → Inside container
ping host.docker.internal - Port reachable? → Inside container
telnetornctest port - Firewall open? → Temporarily disable to test
- Permissions granted? → MySQL user is
@localhostor@%
Nine times out of ten, it’s one of the first three issues.
Real-World Examples
Theory covered, let’s look at two practical examples.
Example 1: Spring Boot App Connecting to Host MySQL
Scenario: You have a Spring Boot project, want to run it in Docker, connecting to local MySQL database.
Step 1: Configure Spring Boot
application.yml:
spring:
  datasource:
    # Use host.docker.internal to connect to host MySQL
    url: jdbc:mysql://host.docker.internal:3306/mydb?useSSL=false&serverTimezone=UTC
    username: root
    password: your_password
    driver-class-name: com.mysql.cj.jdbc.Driver
Step 2: Configure Docker Compose
docker-compose.yml:
version: '3.8'

services:
  app:
    build: .
    ports:
      - "8080:8080"
    extra_hosts:
      - "host.docker.internal:host-gateway"  # Key config
    environment:
      # Can also override with env vars
      SPRING_DATASOURCE_URL: jdbc:mysql://host.docker.internal:3306/mydb
      SPRING_DATASOURCE_USERNAME: root
      SPRING_DATASOURCE_PASSWORD: your_password
Step 3: Configure Host MySQL
Edit /etc/mysql/mysql.conf.d/mysqld.cnf:
[mysqld]
bind-address = 0.0.0.0
Restart MySQL:
sudo systemctl restart mysqlGrant user permissions:
CREATE USER 'root'@'%' IDENTIFIED BY 'your_password';
GRANT ALL PRIVILEGES ON *.* TO 'root'@'%';
FLUSH PRIVILEGES;
Step 4: Launch and Test
docker-compose up --buildIf you see logs like HikariPool-1 - Start completed, database connection succeeded.
Troubleshooting Log:
When I first configured this, I hit Connection refused. Troubleshooting process:
- Check if MySQL running:
systemctl status mysql→ Running - Check listening address:
netstat -tlnp | grep 3306→ Found127.0.0.1:3306 - Change config file
bind-address = 0.0.0.0, restart MySQL - Run again, connected
Example 2: Node.js App Connecting to Host Redis
Scenario: Node.js project using Redis for caching, Redis on host during local development.
Step 1: Node.js Code
// redis-client.js
const redis = require('redis');

const client = redis.createClient({
  host: process.env.REDIS_HOST || 'host.docker.internal',
  port: process.env.REDIS_PORT || 6379,
  // If Redis has password
  password: process.env.REDIS_PASSWORD
});

client.on('connect', () => {
  console.log('Redis connected successfully');
});

client.on('error', (err) => {
  console.error('Redis error:', err);
});

module.exports = client;
Step 2: Docker Compose Config
docker-compose.yml:
version: '3.8'

services:
  app:
    build: .
    ports:
      - "3000:3000"
    extra_hosts:
      - "host.docker.internal:host-gateway"
    environment:
      NODE_ENV: development
      REDIS_HOST: host.docker.internal
      REDIS_PORT: 6379
Step 3: Configure Host Redis
Edit /etc/redis/redis.conf or /usr/local/etc/redis.conf:
# Find the bind line
bind 127.0.0.1 ::1

# Change to
bind 0.0.0.0
If Redis has protected-mode yes, also change:
protected-mode no # OK for local dev, don't do this in productionRestart Redis:
# Linux
sudo systemctl restart redis

# Mac
brew services restart redis
Step 4: Verify
Launch app:
docker-compose upSee Redis connected successfully, you’re good.
Cross-Platform Handling:
If team has Mac and Linux users, unify with environment variables:
const REDIS_HOST = process.env.REDIS_HOST || (
  process.platform === 'linux' ? 'host.docker.internal' : 'host.docker.internal'
);
Wait, now both can use host.docker.internal, no need to differentiate platforms. As long as Docker Compose has extra_hosts: ["host.docker.internal:host-gateway"], Mac and Linux use the same config.
Example 3: Complete Dev Environment Config
This is a practical template, app container connecting to host MySQL and Redis:
# docker-compose.yml
version: '3.8'

services:
  app:
    build: .
    ports:
      - "8080:8080"
    extra_hosts:
      - "host.docker.internal:host-gateway"
    environment:
      # Database config
      DB_HOST: host.docker.internal
      DB_PORT: 3306
      DB_NAME: myapp
      DB_USER: root
      DB_PASSWORD: your_password

      # Redis config
      REDIS_HOST: host.docker.internal
      REDIS_PORT: 6379

      # App config
      NODE_ENV: development
      PORT: 8080
    volumes:
      - .:/app
      - /app/node_modules  # Don't mount node_modules
    command: npm run dev  # Dev mode hot reload
Corresponding host config checklist:
# MySQL
# Edit /etc/mysql/mysql.conf.d/mysqld.cnf
bind-address = 0.0.0.0
# Restart: sudo systemctl restart mysql

# Redis
# Edit /etc/redis/redis.conf
bind 0.0.0.0
protected-mode no
# Restart: sudo systemctl restart redis

# Firewall (if needed)
sudo ufw allow from 172.17.0.0/16 to any port 3306
sudo ufw allow from 172.17.0.0/16 to any port 6379
This config works on Mac and Linux, copy-paste ready.
Summary
After all that, three core points:
1. Understand the Principle
Containers have their own network world. localhost inside a container refers to the container itself, not the host. This is network namespace isolation, Docker’s design, not a bug.
2. Choose the Right Method
Pick approach based on your environment:
| Environment | Recommended Approach | Config |
|---|---|---|
| Mac/Windows (Docker Desktop) | Use host.docker.internal directly | No extra config |
| Linux (Docker Engine 20.10+) | extra_hosts: host-gateway | docker-compose or —add-host |
| Cross-platform teams | extra_hosts: host-gateway | Unified config, all platforms |
| Linux older versions | Use 172.17.0.1 | extra_hosts specify IP |
| Last resort | --network=host | Local dev only, breaks isolation |
3. Configure Services Properly
Container config isn’t enough, host services also need setup:
- Change listening address to
0.0.0.0 - Grant MySQL users access from Docker subnet
- Allow Docker subnet through firewall
Quick Decision Tree
When hitting connection issues:
Can't connect to host service?
  ↓
Using Mac/Windows or Linux?
  ↓
Mac/Windows:
  → Use host.docker.internal directly
  → If still fails, check host service config

Linux:
  → Docker version ≥20.10?
      Yes → Use extra_hosts: host-gateway
      No → Use extra_hosts: 172.17.0.1
  → Check host service config
  → Check firewall

Tried everything?
  → Go through troubleshooting checklist item by item
  → Nuclear option: --network=host (local dev only)
Final Thoughts
Containerized development is indeed convenient, but networking has many pitfalls. However, mastering these two key configs—host.docker.internal and host-gateway—solves most problems.
Bookmark this article, pull it up next time you hit a connection issue. If your team members are struggling with this, share it with them.
Oh, and if you’ve encountered strange container networking issues or have better solutions, feel free to chat in the comments. Might help others out.
FAQ
Why can't I connect to host services using localhost from Docker container?
Containers have independent network namespaces.
Use host.docker.internal (Mac/Windows) or configure extra_hosts (Linux) to access host services.
How do I access host services from Docker container on Mac/Windows?
This special domain name automatically resolves to the host machine's IP.
Works out of the box on Docker Desktop for Mac/Windows.
How do I access host services from Docker container on Linux?
Older versions: use `extra_hosts: - 'host.docker.internal:172.17.0.1'` (default bridge IP)
What is host-gateway?
Use in extra_hosts: `'host.docker.internal:host-gateway'`
Only works on Docker 20.10+.
Can I use --network=host to access host services?
`--network=host` removes network isolation, container uses host's network directly.
Only use for local development, breaks container isolation and portability.
What if host.docker.internal still doesn't work?
1) Host service is listening on 0.0.0.0 (not 127.0.0.1)
2) Firewall allows Docker subnet
3) Service grants access from Docker subnet
4) Docker version supports host.docker.internal
Use troubleshooting checklist.
How do I find the host IP from inside container?
On Linux: use 172.17.0.1 (default bridge IP) or configure host-gateway
Can also use `ip route show default | awk '/default/ {print $3}'` inside container to find gateway IP.
11 min read · Published on: Dec 17, 2025 · Modified on: Feb 5, 2026
Related Posts
AI Keeps Writing Wrong Code? Master These 5 Prompt Techniques to Boost Efficiency by 50%

AI Keeps Writing Wrong Code? Master These 5 Prompt Techniques to Boost Efficiency by 50%
Cursor Advanced Tips: 10 Practical Methods to Double Development Efficiency (2026 Edition)

Cursor Advanced Tips: 10 Practical Methods to Double Development Efficiency (2026 Edition)
Complete Guide to Fixing Bugs with Cursor: An Efficient Workflow from Error Analysis to Solution Verification

Comments
Sign in with GitHub to leave a comment