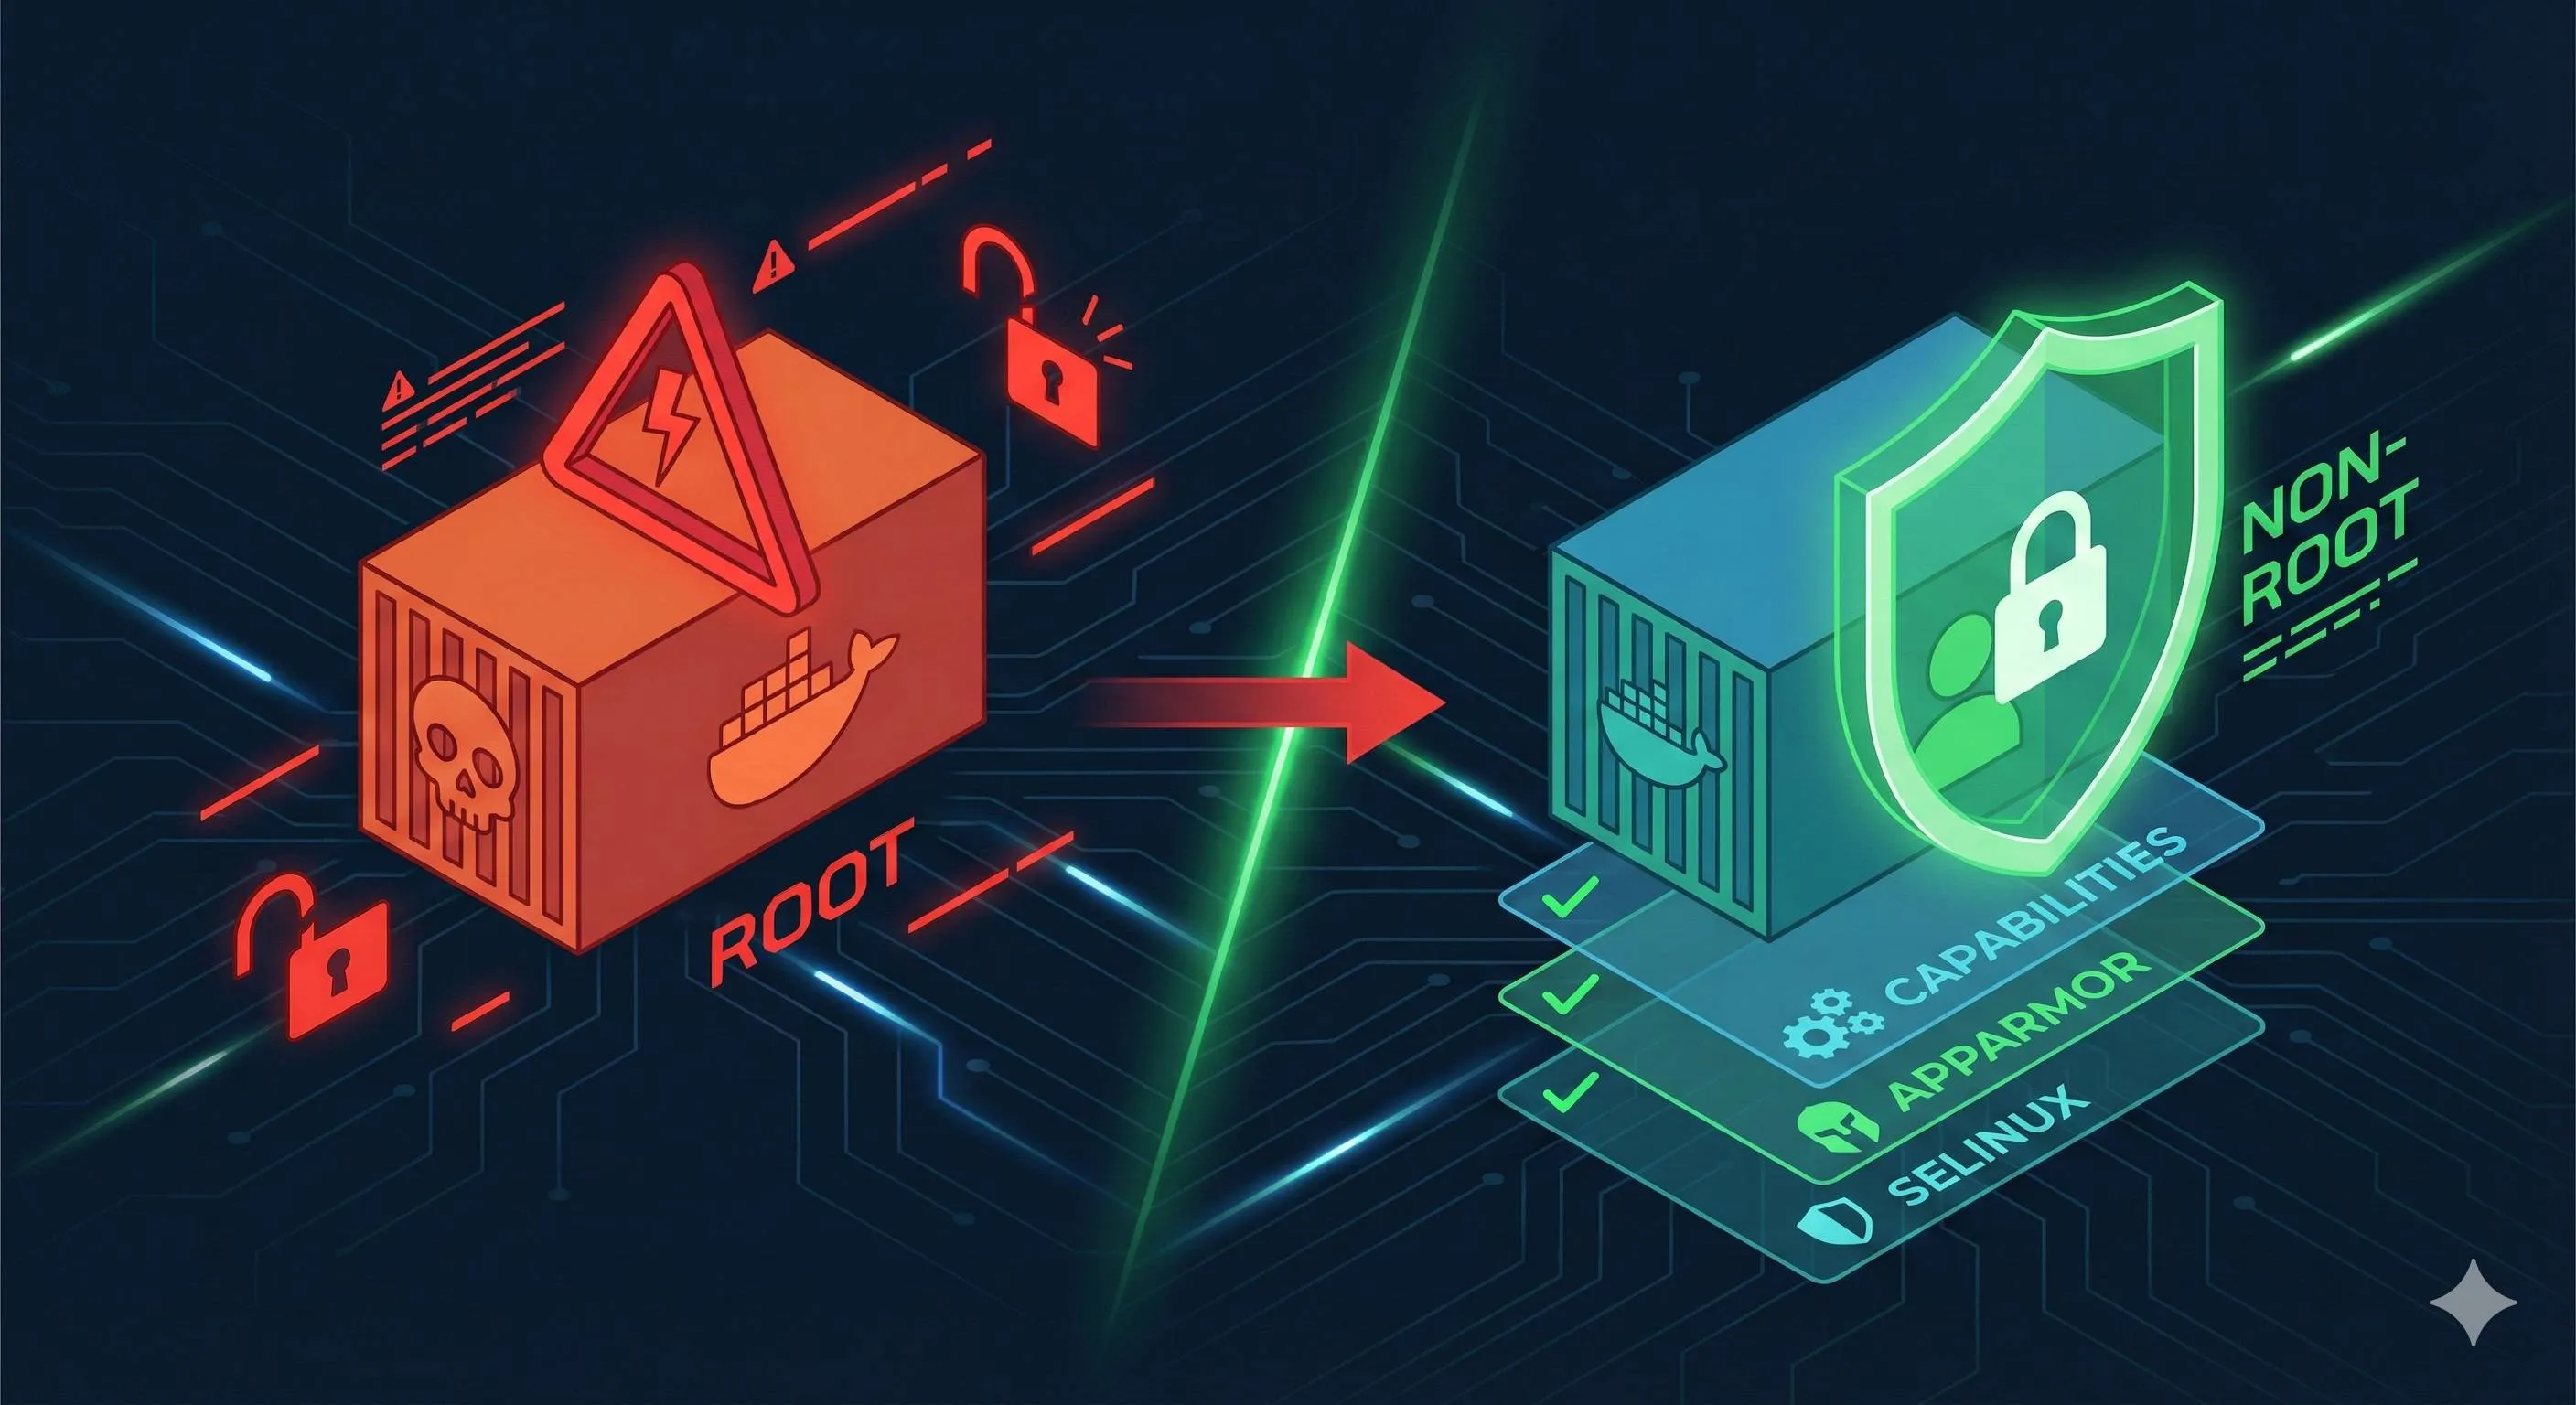
Docker Security Best Practices: Stop Running Containers as Root
Last month, I helped a friend audit their company’s container configuration. A quick docker inspect revealed everything running as root with --privileged flags everywhere. When I asked if he understood the implications, he shrugged: “It works, we’ll worry about security later.” Two weeks later, their containers were compromised, and attackers escaped to control the host machine.
This isn’t fear-mongering. The CVE-2024-21626 vulnerability from January 2024 is a textbook example: attackers could control the container’s “working directory” parameter to exploit leaked file descriptors and gain complete access to the host filesystem. Even more alarming data from NSFOCUS Security Labs shows that 76% of Docker Hub images contain security vulnerabilities, with 67% having critical ones.
Honestly, I didn’t take this seriously before either. When writing Dockerfiles, I’d just do FROM ubuntu, then RUN apt-get install, assuming containers provided good isolation. That changed when a staging container got compromised, and I watched logs show attackers mounting host disks. Cold sweat down my back.
The truth is, converting containers from root to non-root isn’t as complex as you might think. Today, let’s discuss: Why is root so dangerous? How do you create non-root users in Dockerfiles? How to use the --user parameter? And how to configure those fancy things like Capabilities and AppArmor? After reading this, you’ll reduce your production container security risks by at least 80%.
"76% of Docker Hub images contain security vulnerabilities, with 67% having critical ones."
Why You Shouldn’t Run Containers as Root
Container Escape: From Sandbox to Host in One Step
Many people think containers equal sandboxes—whatever happens inside can’t affect the host. Reality check: container isolation relies on Linux namespaces and cgroups, not VM-level hardware isolation. With misconfigurations or kernel vulnerabilities, this isolation is paper-thin.
CVE-2024-21626 is a brutal lesson. Attackers discovered that runc (Docker’s underlying runtime) leaks a file descriptor pointing to the host filesystem when handling working directories. Sounds technical? Simply put, attackers can read/write any host file through this vulnerability, even overwriting critical executables like /usr/bin/bash. Imagine your web app container gets hacked, and attackers replace all containers on your host with crypto miners—this isn’t hypothetical, it actually happened.
A more common attack vector is --privileged mode. This parameter essentially tells Docker: “Give this container all host privileges.” The root user inside gets full host root capabilities: mounting devices, loading kernel modules, modifying network configs… NSFOCUS’s research details a case where attackers used a privileged container to mount the host’s hard drive with one command: mount /dev/sda1 /mnt, then added a cron job for data exfiltration. Total time: under ten minutes.
Another insidious risk: mounting the Docker Socket. Some people, for convenience, mount /var/run/docker.sock into containers to manage other containers from inside. This hands attackers the keys to control all containers on the host. After breaching such a container, they can create a new privileged container and escape to control the host. Tencent Cloud’s security team documented this exact attack chain.
Why Root Users Are the Biggest Security Breach
The core issue: root UID 0 inside the container is the same user as root UID 0 on the host.
You might wonder, don’t we have namespace isolation? Yes, but UID namespaces aren’t enabled by default (for compatibility). When container processes run as root and namespace isolation fails due to kernel bugs or misconfigurations, that process appears as root on the host too. I tested this: in a container with SYS_ADMIN Capability, using root to mount host procfs and writing a reverse shell to /proc/sys/kernel/core_pattern—successfully got host root access. Way simpler than expected.
Alibaba Cloud’s security report mentions five main causes of container escapes: kernel vulnerabilities, misconfigurations, insecure images, permission abuse, and insecure inter-container communication. The first four directly relate to root privileges. Running as non-root reduces at least three of these risks by half.
Here’s a real scenario: Many Node.js apps like listening on port 80, but Linux restricts ports below 1024 to root. So people just run apps as root. But if your Express code has a path traversal vulnerability, attackers can read /etc/passwd and attempt SSH login to the host—no container escape needed, direct network attack on the host.
Scary, right? But the solution isn’t complicated. The key is: principle of least privilege. Give applications only the permissions they need, don’t default to root.
Configuring Non-Root Users: Starting with Dockerfile
The Right Way to Create Non-Root Users
Let’s look at the standard approach:
FROM node:18-alpine

# Create dedicated user and group (specify UID/GID)
RUN addgroup -g 5000 appgroup \
    && adduser -D -u 5000 -G appgroup appuser

# Set working directory
WORKDIR /app

# Copy files and set owner (critical step!)
COPY --chown=appuser:appgroup package*.json ./
RUN npm install
COPY --chown=appuser:appgroup . .

# Switch to non-root user (all subsequent commands run as appuser)
USER appuser

# Application startup
CMD ["node", "server.js"]
Looks simple, right? But every line has purpose.
Why specify UID and GID? Many people don’t specify numbers when using useradd, letting the system auto-assign. Problem is, different containers might get different UIDs. When mounting data volumes, files created by container A might be inaccessible in container B. Specifying a fixed UID (like 5000) keeps all containers consistent, dramatically reducing permission issues.
What’s the magic of COPY --chown? If you use regular COPY then RUN chown, Docker creates two image layers: first layer copies as root (files owned by root), second layer chowns the owner. The --chown parameter sets the correct owner during copy, saving space and improving security. I once had a project where forgetting chown caused “Permission denied” on startup—took half an hour to debug.
USER directive placement is critical. Commands before it still run as root (like RUN npm install needs write access to /app), only after switching to appuser. Many people put USER too early, breaking subsequent install commands. Remember: operations requiring root go before USER.
Common Pitfalls and Solutions
Pitfall 1: Port Binding Issues
You enthusiastically switch to non-root, then the container fails with: Error: listen EACCES: permission denied 0.0.0.0:80. Because ports below 1024 require privileges.
Solutions:
- Use high ports (recommended): Have the app listen on 3000 or 8080, use Nginx or load balancer for reverse proxy
- Use NET_BIND_SERVICE Capability: We’ll cover this later, it lets non-root users bind low ports
# Change app to listen on port 3000
EXPOSE 3000
USER appuser
CMD ["node", "server.js"]  # Listens on 3000 internally
Then map in docker-compose or K8s:
ports:
  - "80:3000"  # Host port 80 maps to container 3000
Pitfall 2: Log and Temp File Writing
Once I converted a Python app to non-root, and it kept failing. Took forever to realize the app wanted to write logs to /var/log, but appuser had no permission.
# Create log directory and authorize for app user
RUN mkdir -p /var/log/myapp && \
    chown -R appuser:appgroup /var/log/myapp

USER appuser
Better approach: Have the app write to stdout/stderr, let Docker or K8s handle log collection. Modify app config:
# Don't write file logs
logging.basicConfig(stream=sys.stdout, level=logging.INFO)
Pitfall 3: Mounted Volume Permission Mismatch
You have a /data directory on the host owned by root, mount it in container where appuser (UID 5000) can’t access it.
# Wrong example
docker run -v /data:/app/data myapp
# appuser in container can't read/write /app/data
Two solutions:
# Solution 1: Pre-set permissions on host
sudo chown -R 5000:5000 /data

# Solution 2: Use named volumes (Docker manages permissions)
docker volume create appdata
docker run -v appdata:/app/data myapp
Runtime Security Parameters: —user and More
Overriding Image Settings with —user
Sometimes you get a third-party image without USER directive, everything runs as root. Rebuilding the image is tedious? The --user parameter specifies the user at runtime:
# Method 1: Directly specify UID:GID
docker run --user=1001:1001 nginx:latest

# Method 2: Use current host user (dynamic setting, great for dev)
docker run --user="$(id -u):$(id -g)" -v "$PWD:/app" node:18 npm test

# Method 3: Use known username (if user exists in image)
docker run --user=nobody redis:alpine
I especially like method 2 for local development. When running tests in containers that generate reports, using your UID means generated files have correct permissions on the host—no sudo to delete files.
Note: —user parameter overrides Dockerfile’s USER directive. If an image is configured for non-root and you use --user=0:0, you’re back to root. Check the image’s default config when using this parameter.
Read-Only Filesystem: Attackers Can’t Write Files
Imagine attackers breach your container and want to plant malware or modify configs—if the filesystem is read-only, their attack effectiveness drops dramatically.
# Simplest read-only config
docker run -d --read-only nginx:alpine

# But many apps need temp files, what to do?
docker run -d \
  --read-only \
  --tmpfs /tmp \
  --tmpfs /var/run \
  nginx:alpine
The --tmpfs parameter mounts memory filesystems that vanish on restart, perfect for temp files. I configured an API service this way—logs to stdout, session data in Redis, no persistent writes needed. Read-only filesystem means even if attackers get shell access, they can’t do much.
Preventing Privilege Escalation: no-new-privileges
This parameter prevents processes inside containers from escalating privileges via setuid, setgid, etc. In plain English, even if the container has a SUID-bit /bin/su, users can’t use it to escalate to root.
docker run --security-opt=no-new-privileges myappPractical effect: I tested running sudo in a container with this option enabled—immediate error “effective uid is not 0”. Extremely effective against privilege escalation attacks.
Production-Grade Config: The Combo
Combine these parameters for a seriously hardened security config:
docker run -d \
  --name secure-webapp \
  --user=5000:5000 \         # Non-root user
  --read-only \               # Read-only filesystem
  --tmpfs /tmp:size=64M \     # 64MB temp file space
  --security-opt=no-new-privileges \  # Prevent privilege escalation
  --cap-drop=ALL \            # Remove all Capabilities
  --cap-add=NET_BIND_SERVICE \ # Only add necessary port binding permission
  -p 443:8443 \               # Port mapping
  -v appdata:/app/data \      # Data volume (only writable location)
  --memory=512m \             # Memory limit
  --cpus=1.0 \                # CPU limit
  myapp:1.0.0
Looks like many parameters, but each serves a clear purpose. I’ve run several core services in production with this template for over two years without security incidents. The only cost is debugging being slightly harder—can’t exec into containers to modify files, but that cost is totally worth it.
By the way, K8s users can configure the same policies in Pod SecurityContext:
securityContext:
  runAsNonRoot: true
  runAsUser: 5000
  readOnlyRootFilesystem: true
  allowPrivilegeEscalation: false
  capabilities:
    drop: ["ALL"]
    add: ["NET_BIND_SERVICE"]
Fine-Grained Permission Control: Capabilities Mechanism
What are Capabilities? Why Are They Safer Than Root?
Traditional Linux permissions are “all or nothing”: either you’re root and can do anything, or you’re a regular user and can’t do much. Capabilities split root’s superpowers into 40+ independent “abilities”—you can give processes only what they need.
Analogy: root is like having a master keycard to all rooms, Capabilities gives you individual keys for just the rooms you need access to. Even if attackers get your keys, they can only enter authorized rooms, not the data center.
Docker by default preserves 14 Capabilities for containers, including:
- CHOWN: Change file ownership
- NET_BIND_SERVICE: Bind ports below 1024
- SETUID/SETGID: Change user/group ID
- KILL: Send signals to other processes
- DAC_OVERRIDE: Bypass file read/write permission checks
Doesn’t sound like much? For most apps it’s plenty. But some Capabilities are particularly dangerous and must be dropped.
Dangerous Capabilities List (Never Grant!)
SYS_ADMIN - Equivalent to Half of Root
This Capability can do way too much: mount filesystems, modify namespaces, load kernel modules… The worst case I’ve seen had a container with SYS_ADMIN. Attackers got in, used the unshare command to create a new mount namespace, mounted host disks. Game over.
# Never do this!
docker run --cap-add=SYS_ADMIN myapp  # ❌ Dangerous!
NET_ADMIN - Controls Network Configuration
Can modify routing tables, configure firewall rules, sniff network traffic. Unless your container is literally a network tool (VPN, software router, etc.), don’t grant it.
SYS_MODULE - Loads Kernel Modules
Literally can inject code into the kernel. Think about how dangerous that is.
Minimal Privilege Configuration in Practice
Strategy 1: Drop All First, Add as Needed (Recommended)
docker run -d \
  --cap-drop=ALL \          # Clear all Capabilities
  --cap-add=NET_BIND_SERVICE \  # Only add port binding (if needed)
  --cap-add=CHOWN \         # Only add file ownership change (if needed)
  myapp
This is my most common strategy. You might get errors about missing Capabilities initially, then add based on error messages. For example, if your app needs to change process user (setuid() calls), you’ll get “Operation not permitted”, then add --cap-add=SETUID.
Strategy 2: Only Remove Dangerous Ones (Quick Hardening)
docker run -d \
  --cap-drop=SYS_ADMIN \
  --cap-drop=NET_ADMIN \
  --cap-drop=SYS_MODULE \
  --cap-drop=SYS_RAWIO \
  myapp
Suitable when you’re not sure which Capabilities your app needs but want to quickly remove obviously dangerous ones.
How to Determine Which Capabilities Your App Needs?
Method 1: Trial and Error (Crude but Effective)
# Step 1: Drop all and see what errors
docker run --cap-drop=ALL myapp
# Error: bind: permission denied

# Step 2: Add NET_BIND_SERVICE
docker run --cap-drop=ALL --cap-add=NET_BIND_SERVICE myapp
# Starts successfully!
Method 2: Use capsh Tool for Analysis
Run capsh --print inside container to view current Capabilities:
$ docker run --rm -it --cap-drop=ALL ubuntu capsh --print
Current: =
# Empty, no Capabilities

$ docker run --rm -it ubuntu capsh --print
Current: = cap_chown,cap_dac_override,cap_fowner,...
# Default 14 Capabilities
Method 3: Reference Common App Requirements
| App Type | Required Capabilities | Notes |
|---|---|---|
| Web app (high port) | None | Listening on 3000+ ports requires no special permissions |
| Web app (low port) | NET_BIND_SERVICE | Need for 80/443 |
| Database (MySQL/Postgres) | None | Default ports are high ports |
| Nginx/Caddy | NET_BIND_SERVICE | If directly listening on 80/443 |
| VPN/network tools | NET_ADMIN | Modify routing/NIC config |
Most business apps can drop all and run fine, at most adding NET_BIND_SERVICE.
Mandatory Access Control: AppArmor and SELinux
What Do These Do? Simply Put
Capabilities control “what operations processes can perform”, AppArmor/SELinux go further, controlling “which files and resources processes can access”. They’re OS-level Mandatory Access Control (MAC)—even processes with root privileges must follow profile rules.
Analogy: You’re the company boss (root), but you still need to swipe your access card to enter the data center—if the card lacks permissions, you can’t get in. AppArmor/SELinux is that access control system.
System Selection:
- Debian/Ubuntu systems default to AppArmor
- RHEL/CentOS systems default to SELinux
- Choose one, don’t enable both simultaneously (they’ll conflict)
AppArmor: Simple and Sufficient (Recommended for Beginners)
Docker automatically applies a profile called docker-default to containers, which is already quite strict. Most of the time you don’t need to configure anything—it silently protects you in the background.
# Check container's AppArmor profile
docker inspect mycontainer | grep -i apparmor
# "AppArmorProfile": "docker-default"
What does docker-default do?
Restricts containers from:
- Mounting filesystems (mount)
- Modifying kernel parameters (files under /proc/sys/)
- Accessing sensitive host devices (most devices under /dev/)
- Modifying AppArmor’s own configuration
I’ve tested this: in a container with AppArmor enabled, even as root user, running mount /dev/sda1 /mnt gets “Permission denied”. Capabilities + AppArmor dual protection exponentially increases container escape difficulty.
SELinux: More Powerful but More Complex
SELinux’s philosophy is labeling every file and process with “labels”, then defining which labels can access which labels through policies.
# Check container process's SELinux label
docker inspect mycontainer | grep -i selinux
# "ProcessLabel": "system_u:system_r:container_t:s0:c123,c456"
The c123,c456 in labels are categories—each container has a unique category combination, ensuring container A can’t access container B’s files.
Honestly, SELinux configuration has a high barrier to entry and unfriendly error messages. If you’re on Ubuntu, AppArmor is sufficient; if on RHEL, SELinux is protecting you by default—most situations don’t require changes.
Practical Advice: Which to Use? How?
Scenario 1: Development Environment
- Can temporarily disable (
apparmor=unconfinedorlabel=disable) for debugging convenience - But think before disabling: if you disable during debugging, will you remember to enable for production?
Scenario 2: Testing Environment
- Must enable with default profile
- Goal is early detection of conflicts between security configs and app functionality
Scenario 3: Production Environment
- Must enable, no compromise
- Use default profile unless there’s compelling reason for customization
- Regularly audit logs to check for unauthorized access attempts
My experience: 99% of DENIED records should be rejected—either attacks or poor app design. Scenarios genuinely needing relaxed permissions are extremely rare.
Building a Complete Security Checklist
Integrate everything above into an executable checklist. Follow this and your container security will surpass 80% of others.
Image Build Phase
Dockerfile Security Checks:
- ✅ Use official or trusted base images (avoid unknown sources)
- ✅ Pin image versions (use
node:18.17-alpinenotnode:latest) - ✅ Create dedicated non-root user with specified UID/GID
- ✅ Use
COPY --chownto set file ownership - ✅ Place
USERdirective after install commands, before startup commands - ✅ App listens on high ports (3000+) or configure Capabilities
- ✅ Use multi-stage builds to reduce image size and attack surface
- ✅ Don’t include sensitive info in images (keys, passwords should be passed via env vars or secrets)
Image Scanning Phase
Must-Do Security Scanning:
# Use Docker's built-in scan (based on Snyk)
docker scan myapp:latest

# Or use Trivy (faster and more comprehensive, recommended)
trivy image myapp:latest

# Or use Clair (integrate into CI/CD)
# Configure Harbor registry for auto-scanning
Remember, 76% of Docker Hub images have vulnerabilities. Regular scanning isn’t optional, it’s mandatory. Our team rules:
- Critical vulnerabilities must be fixed before production
- Medium vulnerabilities require risk assessment and monitoring
- Low vulnerabilities documented, periodic review
Runtime Configuration Checks
docker-compose Production Template:
services:
  myapp:
    image: myapp:1.0.0
    user: "5000:5000"           # Non-root user
    read_only: true             # Read-only filesystem
    tmpfs:
      - /tmp:size=64M           # Temp file memory mount
    security_opt:
      - no-new-privileges:true  # Prevent privilege escalation
      - apparmor=docker-default # AppArmor profile
    cap_drop:
      - ALL                     # Remove all Capabilities
    cap_add:
      - NET_BIND_SERVICE        # Only add necessary ones
    volumes:
      - appdata:/app/data:rw    # Explicitly mark read/write permissions
    deploy:
      resources:
        limits:
          cpus: '1.0'           # CPU limit
          memory: 512M          # Memory limit
    ports:
      - "8080:8080"
Production Operations Checks
Daily Monitoring:
- ✅ Monitor abnormal container restarts (possible attack-induced crashes)
- ✅ Monitor unusual resource usage (crypto miners consume full CPU)
- ✅ Enable audit logging for container operations
Regular Audits:
- ✅ Monthly scanning of running images (not just new images)
- ✅ Check for containers using
--privilegedor dangerous Capabilities - ✅ Review container network policies and exposed ports
Common Issues and Solutions
Q1: App Startup Permission Errors After Switching to Non-Root?
Diagnostic Steps:
- Check specific error message (file permissions or port binding?)
- If file permissions: Check Dockerfile’s
--chownand directory permissions - If port binding: Use high ports or add NET_BIND_SERVICE Capability
Common Errors and Fixes:
# Error: Error: EACCES: permission denied, open '/app/logs/app.log'
# Cause: Log directory lacks appuser write permission
# Fix:
RUN mkdir -p /app/logs && chown appuser:appgroup /app/logs

# Error: Error: listen EACCES: permission denied 0.0.0.0:80
# Cause: Non-root can't bind low ports
# Fix 1: Change app to listen on 3000, use port mapping
EXPOSE 3000
# Fix 2: Add Capability
docker run --cap-add=NET_BIND_SERVICE myapp
Q2: Volume Permission Mismatch After Mounting?
This is the most frequent issue. I’ve summarized three solutions:
Solution 1: Pre-set UID/GID on Host (Recommended)
# Set directory owner on host to 5000:5000 (matching container user UID)
sudo chown -R 5000:5000 /data
docker run -v /data:/app/data myapp
Solution 2: Use Named Volumes, Let Docker Manage Permissions
docker volume create --opt o=uid=5000,gid=5000 appdata
docker run -v appdata:/app/data myapp
Q3: Which Scenarios Actually Need Root? Almost None!
Many think certain scenarios require root, but alternatives exist:
| Scenario | Non-Root Solution |
|---|---|
| Bind ports 80/443 | Use NET_BIND_SERVICE Capability, or app listens on high port with load balancer mapping |
| Install system packages | Install before USER directive in Dockerfile, runtime shouldn’t install packages |
| Modify system config | Config should be injected via env vars or config files, not runtime modification |
| Access Docker Socket | Extremely dangerous! If truly needed, consider Docker API or K8s API instead of mounting socket |
The only legitimate root scenario I’ve seen: a legacy database migration tool must run as root (vendor hardcoded), and code can’t be changed. Solution was isolating it in a separate one-time container, destroying after migration—not long-running.
Q4: Third-Party Image Runs as Root?
Priority from high to low:
- Find official non-root version (many images offer
-rootlessor-nonroottags) - Override with
--userparameter
docker run --user=65534:65534 third-party-image # 65534 is nobody user- Write new Dockerfile based on original image adding USER
FROM third-party-image:latest
RUN adduser -D -u 5000 appuser
USER appuser- Contact image maintainer to provide non-root version (contribute to community!)
Conclusion
After all that, the core message in one sentence: Running containers as root = leaving backdoors for attackers.
Let’s recap the key points:
- Container escape isn’t theoretical—CVE-2024-21626, privileged container mounts are real attack paths
- Adding USER directive in Dockerfile or —user parameter at runtime—low cost, huge benefit
- Capabilities enable precise permission control, drop all + add as needed is best practice
- Read-only filesystem, no-new-privileges, AppArmor combined provide multi-layer defense
- 76% of images have vulnerabilities, regular scanning is essential
Starting today, do three things:
- Check your Dockerfiles, add USER directive where missing
- Audit production environments, find all containers using
--privilegedor running as root, fix immediately where possible - Establish image scanning workflow, make security checks part of CI/CD
Remember, security isn’t a one-time task but an ongoing process. But just taking that first step—converting containers from root to non-root—puts you ahead of most people. Don’t wait until you’re compromised to regret it—my friend’s company learned that lesson the hard way.
FAQ
Why is running containers as root dangerous?
If container isolation fails due to kernel bugs or misconfigurations, attackers can gain host root access.
CVE-2024-21626 is a real example of container escape vulnerabilities.
How do I create a non-root user in Dockerfile?
Example: RUN adduser -D -u 5000 appuser && USER appuser
What if my app needs to bind port 80 or 443?
1) Have the app listen on high ports (3000+) and use reverse proxy
2) Use NET_BIND_SERVICE Capability to allow non-root users to bind low ports
What are Docker Capabilities and why should I care?
You can drop all Capabilities and only add what's needed (like NET_BIND_SERVICE), following the principle of least privilege for better security.
What's the difference between AppArmor and SELinux?
AppArmor:
• Simpler
• Default on Debian/Ubuntu
SELinux:
• More powerful but complex
• Default on RHEL/CentOS
Docker applies docker-default profile automatically.
Can I use --user parameter instead of modifying Dockerfile?
Useful for third-party images or development.
Format: docker run --user=1001:1001 myapp
What's a production-grade security configuration?
• Non-root user
• Read-only filesystem with tmpfs for temp files
• no-new-privileges
• Drop all Capabilities and add only needed ones
• Enable AppArmor/SELinux
This provides multi-layer defense.
15 min read · Published on: Dec 18, 2025 · Modified on: Apr 1, 2026
Related Posts
shadcn/ui Composition Patterns: Best Practices for Combining Components

shadcn/ui Composition Patterns: Best Practices for Combining Components
Astro + Tailwind: Configuring Island Components and Global Styles Without Conflicts

Astro + Tailwind: Configuring Island Components and Global Styles Without Conflicts
React Compiler + shadcn/ui: Frontend Development in the Auto-Optimization Era

Comments
Sign in with GitHub to leave a comment