OpenClaw Custom Skill Development: A Complete Guide to Creating Image Processing Skills from Scratch
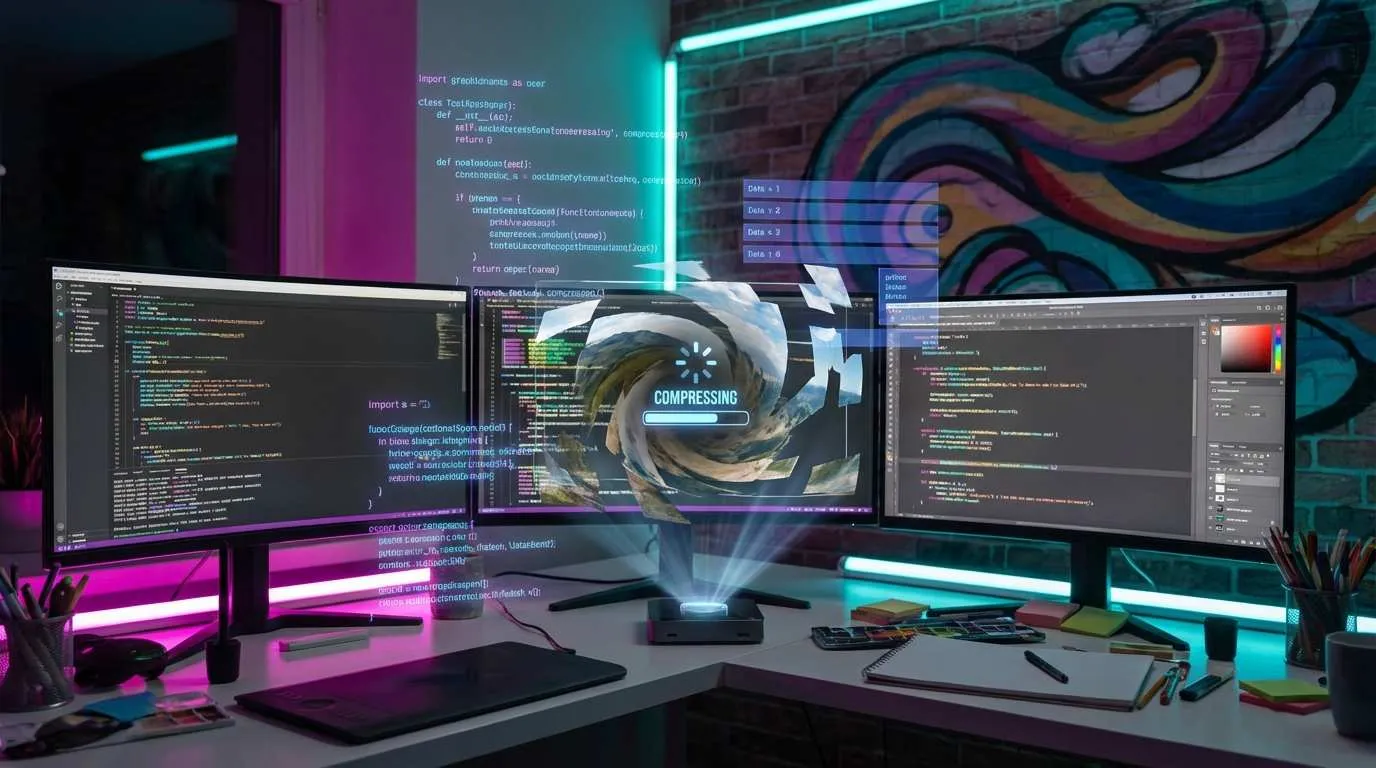
One weekend afternoon, I was staring at a folder on my screen—127 photos exported from my phone, each over 5MB. I asked OpenClaw to batch compress them, and it returned a bunch of ImageMagick commands for me to copy and paste manually.
Honestly, I thought to myself: wouldn’t it be great if it could just “remember” this workflow? Next time I say “compress images,” it would know exactly what to do.
Later I discovered that OpenClaw had already thought of this need—by creating custom Skills, you can teach it to handle any workflow specific to you. Just like installing apps on your iPhone: install once, use forever.
In this article, I’ll use a complete image processing skill as a case study to walk you through the entire development process from scratch.
Understanding the Essence of Skills (5-Minute Overview)
What Exactly Is a Skill?
When I first saw the word “Skill,” various technical terms popped into my head: plugin? extension? middleware? None quite fit.
Actually, you can think of it this way: a Skill is a “specialized app” you install for OpenClaw.
OpenClaw’s Skills follow the same logic. Its built-in features handle 80% of common tasks, but the remaining 20% of specialized needs—like your company’s unique image processing workflow or your personal file naming conventions—require you to “install your own app.”
What Does a Skill Contain?
A complete Skill is actually quite simple, just three parts:
- SKILL.md (required): Configuration file that tells OpenClaw what this skill does and when to invoke it
- scripts/ folder (optional): The actual executable script code, can be Python, Bash, etc.
- references/ folder (optional): Supplementary documentation, like supported file format lists
Using our image processing skill as an example, the directory structure looks like this:
~/.openclaw/skills/image-processor/
├── SKILL.md              # Core configuration file
├── scripts/
│   └── compress.py       # Image compression script
└── references/
    └── formats.md        # Supported format descriptions
Why Do We Need Custom Skills?
The value of custom Skills is precisely this: solidify repetitive workflows once, configure once, use forever.
How Skills Work (Progressive Disclosure)
This mechanism is quite clever. OpenClaw doesn’t load all Skill details into memory at once (that would waste too many tokens), but instead proceeds in three steps:
- First Layer (Frontmatter): Only looks at the skill’s name and brief description to determine “is this skill needed for this task?”
- Second Layer (Body): If needed, then loads the complete usage instructions
- Third Layer (Scripts): Only when actually executing does it call the script files
Personal-Level vs Project-Level Skills
- Personal-level:
~/.openclaw/skills/skill-name/, available to all projects - Project-level:
project-root/.openclaw/skills/skill-name/, only effective in this project
My suggestion: start with personal-level, and once you’re comfortable using it, then consider whether project-level isolation is needed.
Complete Workflow for Creating an Image Processing Skill
Step 1: Create Folder Structure
First, find a place to create folders.
mkdir -p ~/.openclaw/skills/image-processor
cd ~/.openclaw/skills/image-processor
mkdir scripts references
Step 2: Write the SKILL.md Configuration File
This is the core of the entire skill. Create a SKILL.md file and fill in the following content:
---
name: image-processor
description: Batch image processing tool. Use when users need to compress images, convert formats, resize, or add watermarks. Supports JPG, PNG, WebP formats.
tools: Bash, Read, Write
---
These three YAML lines are crucial:
- name: The skill’s unique identifier, users can manually invoke with
/image-processor - description: This line directly determines when OpenClaw automatically triggers this skill
- tools: Declares required permissions
Step 3: Develop the Python Script
Create scripts/compress.py, the script that does the actual work. (Refer to original docs or GitHub for full code, usually using Pillow library).
Step 4: Add Supplementary Documentation (Optional)
To make the Skill more complete, you can write supported format descriptions in references/formats.md.
Testing and Debugging Techniques
Method 1: Explicit Invocation Test
The simplest testing method is to directly type in OpenClaw: /image-processor
Method 2: Trigger Automatic Invocation
Find a folder with images, then tell OpenClaw: “Help me compress images in the ~/Downloads/photos folder”
Method 3: Check Execution Logs
If script execution fails, check the terminal output for error messages.
Security and Best Practices
Three Principles of Security Configuration
- Minimal Permissions: Only declare tools you actually need, avoid
tools: *. - Input Validation: Scripts should check user input.
- Path Restrictions: Scripts shouldn’t access system-sensitive directories.
Performance Optimization Tips
- Leverage Progressive Disclosure: Descriptions should be brief and precise.
- Caching Strategy: Write frequent configs directly into SKILL.md.
Conclusion
The core is just three sentences:
- Skills are specialized apps you install for OpenClaw—through the SKILL.md configuration file tell it “what this function does and when to use it”
- Development process is simple—create directory, write config, write script (optional), three steps done
- Start small—don’t try to perfect it in one go, first solve one specific pain point, getting it running is victory
Take Action Now
Don’t just read and forget. Do it now:
- Copy the code
- Test it
- Make it yours
Start coding. In 30 minutes, you’ll have your first self-made OpenClaw skill.
References
Create OpenClaw Image Processing Skill
Full flow to develop a custom image processing skill from scratch
⏱️ Estimated time: 30 min
- 1
Step1: Structure
Create ~/.openclaw/skills/image-processor/ directory.
Create scripts and references subdirectories. - 2
Step2: Config
Create SKILL.md file.
Define YAML frontmatter (name, description, tools).
Write Body section instructions. - 3
Step3: Script
Create compress.py in scripts/.
Implement core logic (e.g. using Pillow). - 4
Step4: Test
Input /image-processor in OpenClaw to test manual invocation.
Use natural language commands to test auto-trigger. - 5
Step5: Refine
Add error handling and input validation.
Write references/formats.md supplementary docs.
FAQ
Where to put Skills?
Project: ProjectRoot/.openclaw/skills/.
Skill not invoked?
Check SKILL.md path.
Permission denied error?
Ensure script is executable (chmod +x).
How to share?
Or open source on GitHub.
5 min read · Published on: Feb 5, 2026 · Modified on: Mar 23, 2026
Related Posts
Agent Sandbox Guide: A Complete Solution for Safely Running AI Code

Agent Sandbox Guide: A Complete Solution for Safely Running AI Code
AI Coding Tools Landscape 2026: From Copilot to the Agent Era

AI Coding Tools Landscape 2026: From Copilot to the Agent Era
Computer-Use Agent: Let AI Operate Your Computer

Comments
Sign in with GitHub to leave a comment