Implementing OAuth Login in Next.js: A Hands-On Guide to Google, GitHub, and WeChat Integration
Last week, I took on a community project. The PM casually said, “Just add Google login—should be quick.” I thought, “Third-party login? I’ve read a few tutorials. Half an hour, tops.” Four hours later, I was still wrestling with redirect_uri errors, token retrieval failures, and a console full of red messages. The most frustrating part? I followed the official documentation step by step, but nothing worked.
I eventually realized the problem wasn’t in the code—I simply didn’t understand OAuth deeply enough. Terms like authorization code, access token, and callback made sense individually, but together they were confusing. If you’ve been tormented by third-party logins or are about to add authentication to your Next.js project, this article will help.
This time, I’ll explain OAuth in plain language—not by repeating abstract RFC specs, but through a relatable analogy: picking up a package. You’ll understand why you need both code and token, what callbacks actually do, and the configuration details that trip people up. Then I’ll walk you through configuring three login providers: Google (international standard), GitHub (developer-friendly), and WeChat (essential for China but most troublesome).
Honestly, WeChat login is the worst part—poor documentation, business registration requirements, and painful local debugging. But since it’s unavoidable for Chinese projects, I’ll share all the pitfalls I’ve encountered, including debugging with tunneling tools and configuring custom providers. After reading this, you should be able to handle both international and domestic login requirements with a single codebase.
Understanding the OAuth Flow
The Package Pickup Analogy
When I first encountered OAuth, terms like authorization code and access token made my head spin. Then I figured it out—it’s just like having someone pick up a package for you.
Imagine you have a package at the pickup station (user info), but you’re at work and can’t get it yourself. Your friend (your Next.js app) offers to help. The station can’t just hand packages to anyone, so they need to verify your authorization. Here’s how it works:
1. You give your friend a pickup code - This is the authorization code. When you click “Sign in with Google,” you’re redirected to Google’s authorization page. After you approve, Google generates a temporary code and passes it to your app via URL parameters.
2. Your friend takes the code to the station - This is your app’s backend exchanging the code for an access token. But the station needs to verify that your friend is genuinely trusted, so you must have pre-registered their ID number (client_secret) with the station.
3. After verification, the package is released - The station confirms both the pickup code and ID number are correct, then gives the package (user info) to your friend, who brings it to you. This is the process of using the access_token to fetch user data.
Here’s the key: The pickup code (code) is one-time use, and even if someone intercepts it, it’s useless without the ID number (secret)—the station won’t release the package. That’s why the code can be transmitted in plain text in browser URLs, but the secret must stay hidden on your backend.
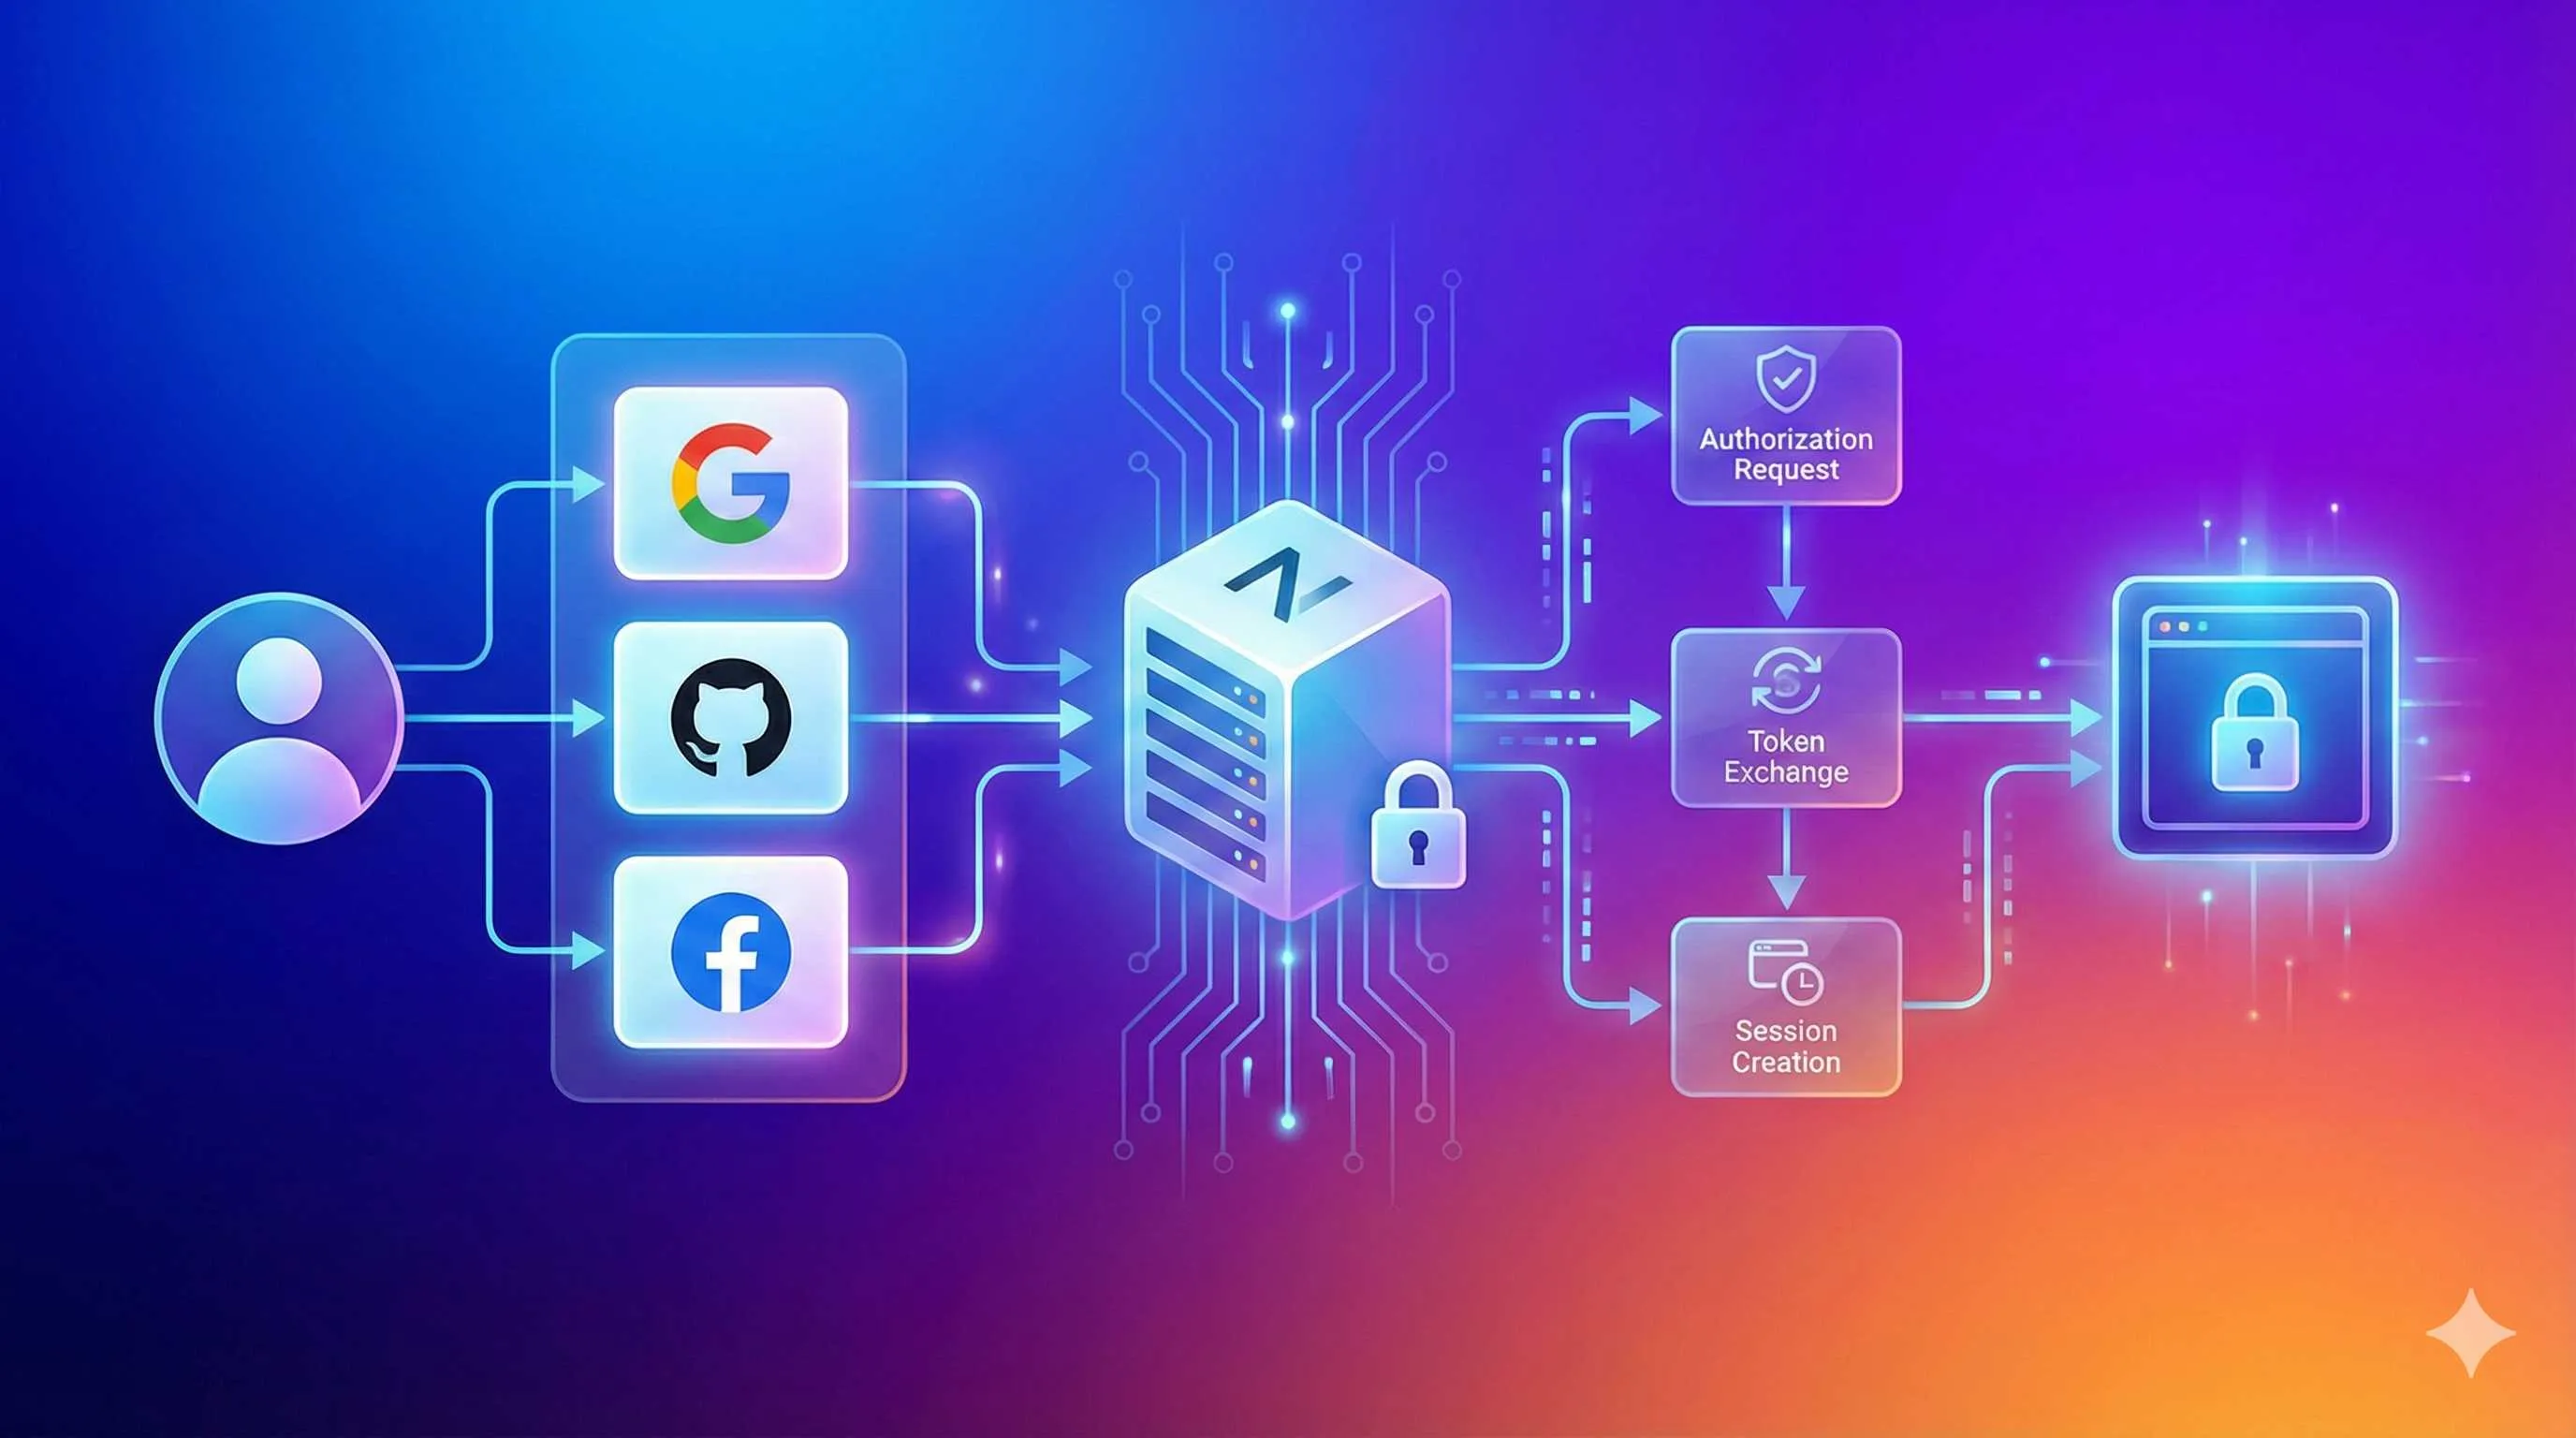
Breaking Down the Four Key Steps
In technical terms, here are the four steps:
Step 1: Redirect to OAuth Authorization Page
When users click “Sign in with Google,” your frontend constructs a URL and redirects them to Google:
https://accounts.google.com/o/oauth2/v2/auth?
  client_id=your-app-id
  &redirect_uri=http://localhost:3000/api/auth/callback/google
  &response_type=code
  &scope=email profile
Key parameters:
client_id: Your app’s identifier with Googleredirect_uri: Where Google sends users after authorizationscope: What user information you want to access
Step 2: User Approves, Receives Code
After the user clicks “Allow” on Google’s page, Google redirects back to your app with a URL like:
http://localhost:3000/api/auth/callback/google?code=4/0AfJohXl...&state=random123This code is the pickup code—valid for only 5-10 minutes and usable just once.
Step 3: Backend Exchanges Code for Access Token
Your app’s backend (note: backend, not frontend) takes the code plus client_secret and requests Google:
const response = await fetch('https://oauth2.googleapis.com/token', {
  method: 'POST',
  body: JSON.stringify({
    code: 'the code you just received',
    client_id: 'your_client_id',
    client_secret: 'your_secret', // Never expose this to frontend
    redirect_uri: 'http://localhost:3000/api/auth/callback/google',
    grant_type: 'authorization_code'
  })
})

const { access_token } = await response.json()
The access_token is the real key to fetching user information.
Step 4: Fetch User Info with Access Token
With the token, you can call Google’s API to get user data:
const userInfo = await fetch('https://www.googleapis.com/oauth2/v2/userinfo', {
  headers: {
    Authorization: `Bearer ${access_token}`
  }
})

const user = await userInfo.json()
// { email: "[email protected]", name: "John Doe", picture: "avatar URL" }
After getting the user info, you can create or update the user record in your database, generate a session, and complete the login.
Quick Reference for Key Concepts
Here’s a handy table of common terms:
| Term | Plain English | Where to Find It |
|---|---|---|
| Client ID | Your app’s identifier, public | .env.local file, browser URL params |
| Client Secret | Your app’s password, keep secret | Backend code and env vars only |
| Authorization Code | One-time pickup code | code parameter in callback URL |
| Access Token | The real key to fetch info | Backend code, never sent to frontend |
| Redirect URI | Where to return after authorization | OAuth app config, authorization URL param |
| Scope | Permissions you’re requesting | Authorization URL param, e.g., “email profile” |
| State | Random string to prevent CSRF attacks | Authorization and callback URL params |
What State Does: When initiating authorization, you generate a random string (like “abc123”), store it in the session, and send it to the OAuth server. On callback, check if the returned state matches “abc123”. If not, it might be an attack—reject it. NextAuth.js handles this automatically.
Why Not Return Token Directly?
You might wonder: if we ultimately need the access_token, why not return the token directly in the URL instead of adding an extra code-to-token step?
Security.
Browser address bar URLs are in plain text, visible to browser history, server logs, and browser extensions. If the token were returned directly, you’d be broadcasting the key to user information—way too risky.
Even if the code is intercepted, it’s useless because:
- Code is one-time use; after use, it’s invalid
- Exchanging for a token requires client_secret, known only to your backend
- The OAuth server also verifies the redirect_uri matches
So even if an attacker intercepts the code, they can’t get the token without the secret, and the user information stays safe.
This design is called “Authorization Code Flow,” the most secure OAuth 2.0 grant type, especially suited for web apps with backend servers. There’s also “Implicit Flow” that returns tokens directly, but it’s no longer recommended—too insecure.
Getting Started with NextAuth.js
Why Choose NextAuth.js
There are several ways to implement OAuth login in Next.js—you can write everything from scratch or use a library. I tried rolling my own, hit countless snags, and surrendered. I switched to NextAuth.js.
Why I recommend it:
Reason 1: Official Backing, Mature Ecosystem
NextAuth.js is the authentication solution recommended in Next.js official docs, with 70K+ stars on GitHub and active maintenance. The v5 version released in November 2024 perfectly supports App Router and Server Components—no compatibility worries.
Reason 2: 30+ Built-In OAuth Providers
Google, GitHub, Facebook, Twitter—common providers work out of the box with just a few lines of configuration. For providers like WeChat that aren’t built-in, there’s a custom Provider mechanism, so you don’t have to write OAuth flows from scratch.
Reason 3: Automatic Handling of Complex Logic
Session management, JWT signing, database storage, CSRF protection—all automatic. You just focus on business logic, like “Should we send a welcome email on first login?”
Core Configuration File Structure
The core of NextAuth.js is an API route. If you’re using App Router (Next.js 13+), the file path is:
app/api/auth/[...nextauth]/route.tsThe [...nextauth] is Next.js’s catch-all route, meaning all /api/auth/* requests are handled by this file, including:
/api/auth/signin- Sign-in page/api/auth/callback/google- Google callback/api/auth/signout- Sign-out/api/auth/session- Get current session
Basic configuration looks like this:
// app/api/auth/[...nextauth]/route.ts
import NextAuth from "next-auth"
import GoogleProvider from "next-auth/providers/google"
import GitHubProvider from "next-auth/providers/github"

export const authOptions = {
  providers: [
    GoogleProvider({
      clientId: process.env.GOOGLE_CLIENT_ID!,
      clientSecret: process.env.GOOGLE_CLIENT_SECRET!,
    }),
    GitHubProvider({
      clientId: process.env.GITHUB_ID!,
      clientSecret: process.env.GITHUB_SECRET!,
    }),
  ],
  // Optional: custom login page
  pages: {
    signIn: '/login',
  },
  // Optional: callbacks to handle post-login logic
  callbacks: {
    async signIn({ user, account, profile }) {
      // Check if user is whitelisted
      return true // Returning false blocks login
    },
    async session({ session, token }) {
      // Add extra info to session
      session.user.id = token.sub
      return session
    },
  },
}

const handler = NextAuth(authOptions)
export { handler as GET, handler as POST }
The last line export { handler as GET, handler as POST } is crucial—App Router requires explicit exports of HTTP method handlers.
Environment Variable Naming Conventions
NextAuth.js is particular about environment variable naming, especially in v5:
Required Environment Variables:
# .env.local

# NextAuth configuration
NEXTAUTH_URL=http://localhost:3000
NEXTAUTH_SECRET=your-secret-key-here

# Or use new naming (v5 recommended)
AUTH_SECRET=your-secret-key-here

# Google OAuth
GOOGLE_CLIENT_ID=your-google-client-id
GOOGLE_CLIENT_SECRET=your-google-client-secret

# Or use AUTH_ prefix (v5 auto-recognizes)
AUTH_GOOGLE_ID=your-google-client-id
AUTH_GOOGLE_SECRET=your-google-client-secret

# GitHub OAuth
GITHUB_ID=your-github-client-id
GITHUB_SECRET=your-github-client-secret

# Or
AUTH_GITHUB_ID=your-github-client-id
AUTH_GITHUB_SECRET=your-github-client-secret
Key Points:
-
NEXTAUTH_URL: Your app’s full URL. Development:
http://localhost:3000. Production: your actual domain (with https). -
NEXTAUTH_SECRET / AUTH_SECRET: Key for signing JWTs, must be a random string. Generate it with:
openssl rand -base64 32Never leak this, and don’t commit it to Git. If leaked, change it immediately—otherwise, others can forge sessions.
- AUTH_ Prefix Magic: NextAuth.js v5 auto-recognizes
AUTH_PROVIDER_IDandAUTH_PROVIDER_SECRETformat variables—no need to writeprocess.env.XXXin code. More convenient.
Installation and Minimal Configuration
Enough theory—getting started is simple:
Step 1: Install
npm install next-auth
# or
pnpm add next-auth
Step 2: Create API Route
Create app/api/auth/[...nextauth]/route.ts and paste the previous code.
Step 3: Create .env.local
NEXTAUTH_URL=http://localhost:3000
NEXTAUTH_SECRET=string generated from openssl rand -base64 32
Step 4: Add Login Button in Frontend
// app/login/page.tsx
'use client'

import { signIn } from 'next-auth/react'

export default function LoginPage() {
  return (
    <div>
      <button onClick={() => signIn('google')}>
        Sign in with Google
      </button>
      <button onClick={() => signIn('github')}>
        Sign in with GitHub
      </button>
    </div>
  )
}
Step 5: Wrap App with Provider
To use useSession() in client components, add a Provider:
// app/layout.tsx
import { SessionProvider } from 'next-auth/react'

export default function RootLayout({ children }) {
  return (
    <html>
      <body>
        <SessionProvider>
          {children}
        </SessionProvider>
      </body>
    </html>
  )
}
With this configuration, the basic skeleton is complete. Of course, clicking the login buttons will error now because we haven’t configured Google and GitHub OAuth apps yet—that’s next.
Google Login Configuration
Google Cloud Console Setup
Google OAuth configuration has two parts: creating an OAuth app in Google Cloud Console, then integrating with Next.js.
Step 1: Enter Google Cloud Console
Visit https://console.cloud.google.com and log in with your Google account. If it’s your first time, you’ll be prompted to create a project—give it any name, like “My Blog.”
Step 2: Enable Google+ API
Although Google+ shut down ages ago, OAuth still depends on this API. Click the left menu “APIs & Services” → “Library,” search for “Google+ API,” click it, then click “Enable.”
Step 3: Create OAuth Credentials
- Click “Credentials” on the left
- Click “Create Credentials” at the top → “OAuth client ID”
- If it’s your first time, you’ll need to configure the “OAuth consent screen” first—fill in the app name and user support email; skip the rest for now
- Application type: select “Web application”
- Name: anything, like “Next.js App”
Step 4: Configure Redirect URIs (Critical)
This is where mistakes happen most. In Authorized redirect URIs, add two:
Development:
http://localhost:3000/api/auth/callback/googleProduction (add after deployment):
https://yourdomain.com/api/auth/callback/googleImportant details:
httpvshttps: Local dev uses http, production requires https—Google won’t allow http in production- Port: If you run locally on 3001, write
localhost:3001—don’t omit the port - Path:
/api/auth/callback/googlemust be exact—extra or missing slashes won’t work - No query params: Just write up to
/google; the?code=xxxpart is added by Google automatically
Click “Create” and a popup shows Client ID and Client Secret. Copy and save them.
Step 5: Copy to .env.local
GOOGLE_CLIENT_ID=your-client-id.apps.googleusercontent.com
GOOGLE_CLIENT_SECRET=GOCSPX-xxxxxxxxxxxx
Next.js Code Integration
The earlier NextAuth.js config already included GoogleProvider—as long as the env vars are correct, it’ll work. But we can optimize:
// app/api/auth/[...nextauth]/route.ts
import GoogleProvider from "next-auth/providers/google"

export const authOptions = {
  providers: [
    GoogleProvider({
      clientId: process.env.GOOGLE_CLIENT_ID!,
      clientSecret: process.env.GOOGLE_CLIENT_SECRET!,
      authorization: {
        params: {
          prompt: "consent",
          access_type: "offline",
          response_type: "code"
        }
      }
    }),
  ],
}
Here we added authorization.params:
prompt: "consent": Shows the authorization page every time—convenient for testing. In production, you can remove it; Google remembers the user’s choiceaccess_type: "offline": Returns a refresh token so users can refresh even when offline (only add if you need long-term access to user data)response_type: "code": Explicitly use authorization code flow
Testing the Login Flow
Start Next.js:
npm run devVisit http://localhost:3000/login, click “Sign in with Google,” and you’ll be redirected to Google’s authorization page. Click “Allow,” and you should be redirected back to your app.
Get the session on any page:
// app/page.tsx
import { getServerSession } from "next-auth"
import { authOptions } from "./api/auth/[...nextauth]/route"

export default async function Home() {
  const session = await getServerSession(authOptions)

  if (session) {
    return <div>Hello, {session.user?.name}</div>
  }

  return <div>Not logged in</div>
}
Or in a client component:
'use client'
import { useSession } from "next-auth/react"

export default function Profile() {
  const { data: session, status } = useSession()

  if (status === "loading") return <div>Loading...</div>
  if (!session) return <div>Not logged in</div>

  return (
    <div>
      <img src={session.user?.image} alt="Avatar" />
      <p>{session.user?.name}</p>
      <p>{session.user?.email}</p>
    </div>
  )
}
Common Error Troubleshooting
Error 1: redirect_uri_mismatch
Full error:
Error 400: redirect_uri_mismatch
The redirect URI in the request, http://localhost:3000/api/auth/callback/google,
does not match the ones authorized for the OAuth client.
Cause: The URI you configured in Google Console doesn’t exactly match the actual callback URI.
Debugging steps:
- Open browser DevTools → Network tab
- Click login button, watch the redirect to Google
- Find the
redirect_uriparameter, copy the full value - Go back to Google Console, paste it exactly into Authorized redirect URIs
- Check protocol (http/https), port, path, and for extra slashes
Error 2: Access blocked: This app’s request is invalid
Means you haven’t configured the OAuth consent screen or haven’t added test users.
Solution:
- Go back to Google Console → “OAuth consent screen”
- User Type: select “External” (public) or “Internal” (enterprise)
- Fill in app info
- If External and unpublished, add your test account email in “Test users”
Error 3: Port Number Issues
If you run locally on localhost:3001 but the redirect URI is configured for localhost:3000, it’ll error.
Easy fix: Use port 3000 consistently, or add multiple redirect URIs in Google Console (3000, 3001, 3002, etc.).
Error 4: HTTPS Requirement
After production deployment, if your domain is still http, Google will reject it. Must use https. Platforms like Vercel and Netlify automatically provide https—no worries.
GitHub Login Configuration
GitHub OAuth App Setup
GitHub’s OAuth configuration is simpler than Google’s—no need to enable APIs, just create an OAuth App directly.
Step 1: Enter Developer Settings
Log in to GitHub, click your avatar in the top right → Settings → scroll down on the left → Developer settings → OAuth Apps → New OAuth App.
Step 2: Fill in App Info
- Application name: Anything, users won’t see it
- Homepage URL: Local dev:
http://localhost:3000, production: your domain - Authorization callback URL:
http://localhost:3000/api/auth/callback/github
Note: GitHub’s callback URL is more flexible and can be changed later, unlike Google’s strictness.
Click Register application to generate a Client ID. Then click “Generate a new client secret” to create the Secret (shown only once—save it).
Step 3: Copy to .env.local
GITHUB_ID=your-client-id
GITHUB_SECRET=your-client-secret
Next.js Integration
NextAuth.js configuration:
import GitHubProvider from "next-auth/providers/github"

export const authOptions = {
  providers: [
    GitHubProvider({
      clientId: process.env.GITHUB_ID!,
      clientSecret: process.env.GITHUB_SECRET!,
    }),
  ],
}
That simple—no extra configuration needed.
GitHub vs Google Differences
| Comparison | GitHub | |
|---|---|---|
| Config Difficulty | Medium, needs API enabled | Simple, direct creation |
| Redirect URI | Strict, must match exactly | Lenient, supports wildcards |
| HTTPS Requirement | Production required | localhost can use http |
| Scope Configuration | Must specify explicitly | Default is sufficient |
| User Info | email, name, picture | login, email, avatar_url |
One thing to note: GitHub’s email may be null if the user has email privacy protection enabled. So check in code:
const userEmail = session.user?.email || 'Email not provided'WeChat Login Configuration (China Scenario)
Three Types of WeChat Login
This is the most confusing part—WeChat has three login methods for completely different scenarios:
| Login Type | Use Case | Requirements | User Experience |
|---|---|---|---|
| Open Platform - Web App | Independent websites | Business registration, registered domain, HTTPS | QR code login, supports PC |
| Official Account Web Auth | H5 pages within WeChat | Verified Official Account | WeChat browser only |
| WeChat Work | Enterprise internal systems | WeChat Work account | Enterprise employees only |
We’ll cover the first type: Open Platform web app login, suitable for independent Next.js websites.
WeChat Open Platform Setup (High Barrier)
Prerequisites:
- Business license (individual developers not allowed)
- Registered domain (ICP filing)
- HTTPS certificate
Step 1: Register Developer Account
Visit https://open.weixin.qq.com, click “Register,” select “Website App Developer,” upload business license, and wait for approval (usually 1-2 business days).
Step 2: Create Web App
After approval, Management Center → Web Apps → Create Web App, fill in:
- App name
- App description
- App official website: your domain (must be registered)
- Authorization callback domain: Just the domain, no protocol or path, e.g.,
yourdomain.com
Note: Unlike Google/GitHub, WeChat only needs the domain, not the full URL. WeChat automatically matches all paths under that domain.
Submit and wait for approval (1-7 days). Once approved, you’ll be assigned an AppID and AppSecret.
Step 3: Environment Variables
WECHAT_APP_ID=your-app-id
WECHAT_APP_SECRET=your-app-secret
NextAuth.js Custom Provider
WeChat doesn’t have a built-in provider, so you need to write your own. Good news: NextAuth.js provides a custom provider mechanism:
// app/api/auth/[...nextauth]/route.ts

const WeChatProvider = {
  id: "wechat",
  name: "WeChat",
  type: "oauth",
  authorization: {
    url: "https://open.weixin.qq.com/connect/qrconnect",
    params: {
      appid: process.env.WECHAT_APP_ID,
      scope: "snsapi_login",
      response_type: "code",
    },
  },
  token: {
    url: "https://api.weixin.qq.com/sns/oauth2/access_token",
    async request({ params, provider }) {
      const response = await fetch(
        `https://api.weixin.qq.com/sns/oauth2/access_token?appid=${process.env.WECHAT_APP_ID}&secret=${process.env.WECHAT_APP_SECRET}&code=${params.code}&grant_type=authorization_code`
      )
      const tokens = await response.json()
      return { tokens }
    },
  },
  userinfo: {
    url: "https://api.weixin.qq.com/sns/userinfo",
    async request({ tokens }) {
      const response = await fetch(
        `https://api.weixin.qq.com/sns/userinfo?access_token=${tokens.access_token}&openid=${tokens.openid}`
      )
      return await response.json()
    },
  },
  profile(profile) {
    return {
      id: profile.unionid || profile.openid,
      name: profile.nickname,
      email: null, // WeChat doesn't provide email
      image: profile.headimgurl,
    }
  },
}

export const authOptions = {
  providers: [
    WeChatProvider,
    // ...other providers
  ],
}
Development Environment Debugging
WeChat login is most troublesome for local debugging because it requires HTTPS and a registered domain. I usually use these two approaches:
Option 1: Tunneling (Recommended)
Use ngrok or cpolar to map local port 3000 to the public internet:
# Using ngrok
ngrok http 3000

# Or using cpolar (more stable in China)
cpolar http 3000
You’ll get a temporary domain like https://abc123.ngrok.io. Configure this domain in WeChat Open Platform’s authorization callback domain.
Option 2: Use Test Account
WeChat provides test accounts without business registration requirements:
- Visit https://mp.weixin.qq.com/debug/cgi-bin/sandbox?t=sandbox/login
- Scan to log in and get test AppID and Secret
- Callback domain can use the tunneling temporary domain
But test accounts only work for you—others scanning will see “Not subscribed to Official Account.”
WeChat Login Peculiarities
Difference 1: Returns openid and unionid
openid: User’s unique identifier in the current appunionid: User’s unique identifier across all apps under the same Open Platform account (requires multiple apps bound)
Recommend using unionid for user identification; use openid if unionid isn’t available.
Difference 2: No Email Provided
WeChat API doesn’t return email, so email in profile is null. If your user system requires email, users must fill it in separately.
Difference 3: Short access_token Validity
Google/GitHub tokens last about 1 hour; WeChat’s is only 2 hours, and daily refresh limits exist (around 10 times). So handle token refresh logic carefully.
Summary
From OAuth fundamentals to practical configuration on three major platforms, we’ve walked through the complete third-party login process.
Core Takeaways:
- OAuth’s two-step code/token design is for security—code can be transmitted in plain text in browsers, but secret must stay on the backend
- NextAuth.js lets you focus on business logic, handling session management and CSRF protection automatically
- Google has the strictest config—redirect URI must match exactly; GitHub is most friendly; WeChat has the highest barrier but is essential in China
- WeChat login requires business registration and domain filing; use tunneling + test accounts for development
Practical Tips:
- Generate NEXTAUTH_SECRET with
openssl rand -base64 32—don’t write it manually - Configure multiple port redirect URIs in Google Console to avoid errors when switching ports
- GitHub’s email may be null—remember null checks
- WeChat’s unionid is better than openid for cross-app user identification
Honestly, the hardest part of third-party login isn’t writing code—it’s understanding OAuth design philosophy and platform configuration differences. If this article helps you avoid a few pitfalls, I’ll be happy.
Next time you get a “Just add Google login” request, it shouldn’t take all afternoon.
14 min read · Published on: Dec 19, 2025 · Modified on: Mar 3, 2026
Related Posts
AI Keeps Writing Wrong Code? Master These 5 Prompt Techniques to Boost Efficiency by 50%

AI Keeps Writing Wrong Code? Master These 5 Prompt Techniques to Boost Efficiency by 50%
Cursor Advanced Tips: 10 Practical Methods to Double Development Efficiency (2026 Edition)

Cursor Advanced Tips: 10 Practical Methods to Double Development Efficiency (2026 Edition)
Complete Guide to Fixing Bugs with Cursor: An Efficient Workflow from Error Analysis to Solution Verification

Comments
Sign in with GitHub to leave a comment