
Cocos Creator AI Art Asset Organization: Complete Workflow from Generation to Import
You have countless cool characters, scenes, and props in your mind, but your budget and timeline only allow for one character sketch. Art resources—that massive gap between creative vision and finished product—have caused many game concepts to remain forever in documentation.
In traditional workflows, a 2D character from design to usable asset costs thousands and takes weeks. Now AI tools can handle character generation, rigging, skinning, and animation in 10 minutes, reducing costs to one-tenth of the original. But here’s the problem: how do AI-generated assets become Cocos Creator-ready resources? After import, directories become chaotic, maintenance becomes a nightmare, and high Draw Calls cause game stuttering—I’ve stepped into every one of these traps.
This article walks you through the complete workflow from AI art generation to Cocos Creator resource directory structure standards, naming conventions, atlas creation, and performance optimization. By the end, you’ll discover that the path from concept to engine-ready is actually traceable.
Cocos Creator Resource Directory Structure Basics
Open a Cocos Creator project, and you’ll see several folders: assets, library, local, settings, temp. With so many directories, which one is your actual “resource library”?
Only one: assets.
The assets directory is the only folder displayed in the editor’s resource manager. All your images, animations, prefabs, and scripts go here. The other folders—library is cache, local is local configuration, settings is project settings, temp is temporary files—don’t touch them, and definitely don’t delete them.
Meta Files: Each Resource’s “Identity Card”
There’s an annoying thing in the assets directory: every file has a companion .meta file. For example, if you have knight.png, there must be knight.png.meta beside it.
This meta file is Cocos Creator’s core mechanism for resource management. It records the resource’s uuid (unique identifier), version information, and sub-resource information. If you delete a meta file, the engine can’t find that resource anymore. Renaming or moving resource files requires synchronizing the meta files, or all references break.
My first project, I found meta files messy and deleted them all in one go. The result? The entire project was ruined, all resource references turned into “Missing.” A lesson I’ll never forget.
resources Directory: The Special Channel for Dynamic Loading
There’s a special subdirectory under assets: resources. Resources placed here can be dynamically loaded via code:
resources.load('sprite-frames/background', cc.SpriteFrame, (err, spriteFrame) => {
    // Dynamically loaded SpriteFrame
});
But the resources directory has a catch: during build, all resources in this directory get packaged, whether you use them or not. So, don’t throw everything into resources. Only put resources that truly need dynamic loading, like text files for language switching or scenes unlocked by player progress.
Common Pitfalls to Avoid
Several common mistakes:
- Manually modifying project.json—this file is automatically maintained by the editor, manual changes will cause problems
- Deleting the library folder—after deletion, reopening the project will rebuild it, but it takes a long time. Large projects may require several minutes
- Stuffing all resources into resources—build size explodes, loading time increases
- Ignoring meta file synchronization—references break, all images in prefabs turn into Missing
Practical Tools for AI Art Generation
There are too many AI art tools on the market now. Which one should you choose? Based on my actual usage experience, I recommend three solutions suitable for indie developers.
SOON Platform: One-Click Skeletal Animation Generation
SOON is an AI platform specialized in game character animation. You input a description, like “cartoon knight in armor, sword fighting stance,” and it automatically generates the character, rigging, skinning, and animation, exporting Spine-format skeletal animation.
In traditional workflows, character design, rigging, skinning, and animation design each require specialized professionals, measured in weeks. SOON compresses this timeline to 10 minutes. According to Sina.com, costs are reduced by 80-90% compared to traditional processes.
I used SOON for a side-scrolling action game protagonist. Ten minutes later, 36 action animations were exported directly: idle, walk, run, jump, attack, hit, death… each animation smooth and natural. If I had hired an artist, the quote alone would have been discouraging.
Holopix AI: Game-Customized AI Drawing + Smart Cutout
Holopix AI is an AI drawing tool designed specifically for game development. It has two particularly useful features: one-click draft generation and one-click cutout.
One-click draft: You input a character description, and it generates multiple style options. Western cartoon style, anime style, pixel art style—each has specialized model training, more tailored to game needs than general AI tools.
One-click cutout: Generated characters have backgrounds, but games need transparent-background sprite images. Holopix AI’s cutout feature handles this in one click with clean edges—no manual Photoshop cutting required. This is a lifesaver for programmers who can’t do art.
Anything XL: Locally Deployed SDXL
Anything XL is a locally deployed Stable Diffusion XL tool. Its advantages: no privacy leak risk, no usage limits.
If your project has confidentiality requirements and you don’t want to upload creative art to cloud platforms, Anything XL is a good choice. Deployment is a bit involved and requires GPU support, but once deployed, generation speed is stable, and asset quality is controllable.
Tool Comparison and Selection Recommendations
| Tool | Features | Cost | Use Case |
|---|---|---|---|
| SOON | One-click skeletal animation generation | Per-project payment | Projects requiring character animation |
| Holopix AI | Game-customized drawing + smart cutout | Free basic features + paid advanced | Projects needing transparent background sprites |
| Anything XL | Locally deployed SDXL | Hardware cost + free usage | Projects with confidentiality requirements |
My selection strategy: character animation with SOON, static sprites with Holopix AI, confidential assets with Anything XL. Combining these three tools covers most art needs.
Complete Workflow from AI Generation to Cocos Import
With AI-generated assets, the next step is making them engine-ready. This stage has the most pitfalls, so I’ll break it down step by step.
Format Conversion and Background Processing
AI-generated images usually have backgrounds. Games need transparent-background sprite images, so the first step is background removal.
Several background removal tools:
- Transparify: Web-based tool, upload images for one-click background removal with clean edges
- SpriteCut AI: Designed for game sprites, can identify character outlines and automatically crop excess whitespace
- Holopix AI built-in cutout: Select transparent background option during generation, done in one step
After processing, ensure you export PNG format with Alpha channel. JPG doesn’t support transparency, don’t use it.
Atlas Creation in Practice
Importing individual sprite images directly means each sprite triggers one Draw Call. 10 sprites mean 10 Draw Calls. 100 sprites mean 100. On low-end devices, stuttering is clearly visible.
Atlas is the solution. Pack multiple sprites into one large image, and the engine can render all sprites referencing this atlas with one Draw Call.
TexturePacker Configuration Essentials:
- Open TexturePacker, add your sprite image files
- Select
cocos2d-xas Output format, export plist + png files - Select
trimfor Trim Mode, which crops transparent pixels without changing the original image frame (don’t choose crop or flush position, they cause animation misalignment) - Adjust Max Size based on target device, generally 2048x2048 is sufficient
Cocos Creator 3.0 doesn’t support TexturePacker formats below v4.x. If you’re using an older TexturePacker version, upgrade to the latest.
Steps to Import into Cocos Creator
TexturePacker exports two files: .plist and .png. Both files must be imported into Cocos Creator together.
Import method: drag both files directly into the assets directory. After dragging, an Atlas resource appears in the resource manager. Expand it to see all SpriteFrames.
Each SpriteFrame can be used individually. In the Sprite component’s SpriteFrame property box, select the corresponding frame to display that sprite.
Complete Case: Character Import for 2D Side-Scrolling Action Game
Assuming you generated a knight character with SOON, with 36 action animations. The complete import process:
Step 1: AI Generation
- On SOON platform, input “cartoon knight in armor”
- Select action types: idle, walk, attack, jump, etc.
- Export PNG sequences (multiple frames per action)
Step 2: Background Removal
- Import PNG sequences into Transparify
- One-click background removal, export transparent PNGs
Step 3: Atlas Packing
- TexturePacker add all PNG frames
- Output format select cocos2d-x
- Export knight_atlas.plist and knight_atlas.png
Step 4: Engine Import
- Drag plist and png to assets/characters/hero/sprites/
- Wait for meta files to generate automatically
Step 5: Scene Usage
- Create Sprite node
- SpriteFrame property select corresponding frame from knight_atlas
- Use Animation component to play frame animations, switch between different actions
After completing this workflow, your knight character can run in the game. All 36 actions are usable, with only one Draw Call (because they all come from the same atlas).
Resource Directory Naming Conventions and Best Practices
Halfway through a project, the assets directory is a mess: images, scripts, prefabs mixed together, random naming, finding resources like looking for a needle in a haystack. This scenario is all too common. Based on actual project experience, here’s a Cocos Creator resource directory standard.
Basic Naming Rules
Core principle: One folder, one file type.
Don’t put texture, prefab, and animation in the same directory. Organize by type—easier to find, easier to maintain.
Naming format follows Unity/Unreal industry standards:
prefix_theme_description_suffixExamples:
char_knight_idle_a.png— Character, knight, idle, albedo (base color)char_knight_attack_01.png— Character, knight, attack, sequence 01ui_btn_play_9slice.png— UI, button, play, 9-slice
Suffix conventions:
_a— albedo, base color texture_n— normal, normal map texture_9— 9slice, 9-slice image
This naming convention seems tedious, but the benefits are clear: seeing the filename tells you what it is and where it’s used. In team collaboration, naming standards are the lowest-cost communication method.
Recommended Directory Structure Template
Organize by game functional modules, not by resource type. Why? Because during development, you think in terms of “character system,” not “all textures.”
assets/
├── characters/
│   ├── hero/
│   │   ├── textures/         # Character textures
│   │   ├── animations/       # Animation resources
│   │   ├── sprites/          # SpriteFrames
│   │   └── prefab/           # Character prefabs
│   ├── enemies/
│   │   ├── textures/
│   │   ├── animations/
│   │   ├── sprites/
│   │   └── prefab/
│   ├── npcs/
│
├── scenes/
│   ├── level01/
│   │   ├── textures/         # Scene textures
│   │   ├── tilemaps/         # Tilemaps
│   │   ├── prefab/           # Scene prefabs
│
├── ui/
│   ├── textures/             # UI textures
│   ├── fonts/                # Font files
│   ├── prefab/               # UI prefabs
│
├── audio/
│   ├── effects/              # Sound effects
│   ├── music/                # Background music
│
├── scripts/                  # TypeScript scripts
│   ├── components/           # Custom components
│   ├── utils/                # Utility classes
│
├── resources/                # Dynamically loaded resources (use sparingly)
│   ├── languages/            # Multi-language text
│   ├── unlock-scenes/        # Unlock scenes
Benefits of this structure: each module is self-contained, modules don’t interfere with each other. When modifying the hero character, you only work in the characters/hero directory without accidentally touching other resources.
Common Mistakes and Pitfall Guide
Several pitfalls I’ve encountered:
Pitfall 1: Mixed File Storage
Putting hero.png and hero.prefab in the same directory causes chaos later. Store separately: textures for images, prefab for prefabs.
Pitfall 2: Random Naming
image1.png, new_picture.png, untitled.png… A month later, even you won’t know what they are. Use standardized naming—the filename itself is documentation.
Pitfall 3: Ignoring Meta Files
When renaming or moving resources, forgetting to synchronize meta files. Result: all references in prefabs turn into Missing, and re-referencing is time-consuming.
Cocos Creator has a mechanism: when renaming or moving within the editor, meta files synchronize automatically. So, complete all resource operations within the editor—don’t operate directly on the file system.
Core Considerations for Meta File Management
Meta files and resource files have a binding relationship. Several core rules:
- Same name, same directory:
knight.png.metamust be in the same directory asknight.png - Cannot delete: Deleting meta files loses uuid, breaking all references
- Cannot manually rename: Changing meta filenames causes the engine to fail finding resources
- Operate within editor: Rename, move, delete—all done in the editor’s resource manager
If you must operate outside the file system (like batch import), wait for meta files to generate automatically after import. Don’t interrupt this process. Large project imports may take several minutes—be patient.
Performance Tuning: Atlas Creation and Draw Call Control
After game launch, players reported “stuttering” and “frame drops.” Investigation revealed Draw Call at 120+. Low-end devices couldn’t handle it.
What is Draw Call? Each time a sprite is rendered, the engine sends a drawing command to the GPU. Too many commands, and CPU-GPU communication overhead explodes, frame rate drops below 30.
Why Atlases Are Needed: Draw Call Principle
A straightforward example:
Your game has 50 UI elements: backgrounds, buttons, icons, text boxes… If each UI element is an independent Sprite, the engine must send 50 Draw Calls.
If all 50 UI elements are packed into one atlas, the engine only needs to send 1 Draw Call. One render command, the GPU loads the entire atlas data, then crops and displays different areas based on SpriteFrame.
Data comparison: One project had 120+ Draw Calls before adjustment, under 10 after. Frame rate went from 25fps to 60fps. Visible improvement on low-end devices.
Dynamic Atlas Mechanism Explained
Cocos Creator has an automatic adjustment mechanism: Dynamic Atlas.
Principle: The engine automatically combines scattered images into temporary atlases at runtime. No manual packing needed—the engine does it for you.
Control method: SpriteFrame has a Packable property. Check Packable, and this SpriteFrame participates in dynamic atlas; uncheck, and it doesn’t.
But dynamic atlases have limitations:
- Only supports under 32 scattered images; beyond that, it fails
- Runtime merging has some overhead
- Unstable—when scattered image count changes, atlas rebuilds
Therefore, formal projects still recommend manual atlas packing. Dynamic atlases are suitable for rapid prototyping, not for production releases.
Auto Atlas Configuration and Build Process
Cocos Creator 3.x has a built-in feature: Auto Atlas.
Usage:
- Create an AutoAtlas resource in the assets directory
- Add SpriteFrames to be packed
- Check “Auto Atlas” option during project build
- After build completes, scattered images automatically merge into atlases
Auto Atlas benefit: automatically processed during build, saving manual packing steps.
One note: after building, atlas files are in the build output directory, not the assets directory. During development, you still see scattered images; only after build are they atlases. Remember this during debugging.
Quantifying Performance Tuning Results
How to verify atlas tuning effects?
Open Cocos Creator’s debug panel, check Draw Call values. Record before adjustment, compare after.
Frame rate doubled, stuttering disappeared. That’s the value of atlas tuning.
Additionally, atlases reduce memory overhead. Fewer texture switches means the GPU doesn’t need to frequently load different texture data. Memory usage is more stable, GC pressure reduced.
Summary
From AI art generation to Cocos Creator-ready resources, the core of this path lies in standardization and automation.
AI tools—SOON, Holopix AI, Anything XL—reduce art costs to one-tenth of the original. But asset generation is just the first step. Importing into the engine, establishing standardized directory structures, packing atlases, controlling Draw Calls—these stages determine the project’s long-term maintainability.
Remember these key points:
- The assets directory is the only resource library—don’t mess with other folders
- Meta files are resource identity cards—complete all operations within the editor
- Directory structure organized by functional modules—one folder, one file type
- Atlas packing is essential for performance tuning—Draw Call from 100+ to under 10
I recommend starting with a small project: use SOON or Holopix AI to generate a character, follow this workflow to import into Cocos Creator, establish standardized resource directories. You’ll discover art resource management is no longer a challenge, but a replicable workflow.
Once this workflow runs smoothly, resource management for large projects follows naturally.
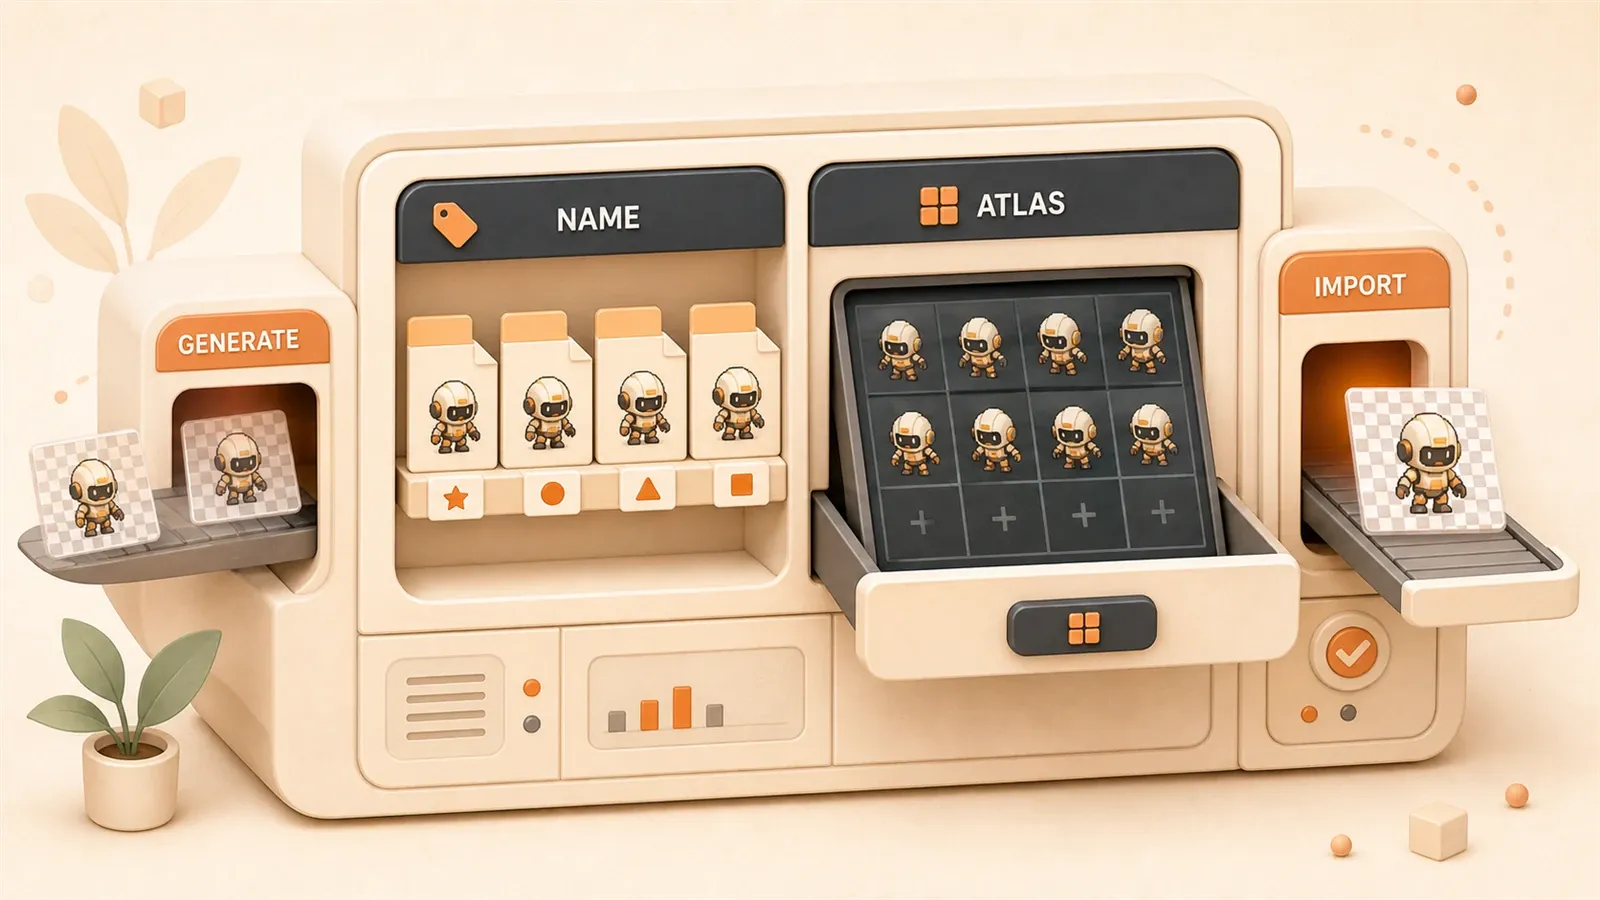
Complete workflow for importing AI art assets into Cocos Creator
A standardized workflow from AI generation to engine-ready assets, covering character generation, background processing, atlas packing, and scene usage.
⏱️ Estimated time: 15 min
- 1
Step 1: AI character generation
On the SOON platform, input a character description (e.g., 'cartoon knight in armor'), select action types (idle, walk, attack, etc.), and export PNG sequences. - 2
Step 2: Background removal
Import PNG sequences into Transparify or use Holopix AI's built-in cutout feature to remove backgrounds with one click and export transparent PNGs. - 3
Step 3: Atlas packing
Use TexturePacker to add all PNG frames, select cocos2d-x as Output format, choose trim for Trim Mode, and export knight_atlas.plist and knight_atlas.png. - 4
Step 4: Engine import
Drag the plist and png files into the assets/characters/hero/sprites/ directory and wait for meta files to generate automatically. - 5
Step 5: Scene usage
Create a Sprite node, select the corresponding frame from the atlas in the SpriteFrame property, and use the Animation component to play frame animations for different actions.
FAQ
Can AI-generated art assets be imported directly into Cocos Creator?
What resources should be placed in the resources directory?
Can meta files be deleted or manually modified?
What problems can high Draw Call cause?
How can I verify the atlas optimization effect?
What should I choose for TexturePacker's Trim Mode?
13 min read · Published on: May 20, 2026 · Modified on: Jul 14, 2026
AI-Assisted Cocos Mini Game Development
If you landed here from search, the fastest way to build context is to jump to the previous or next post in this same series.
Previous
Generating Cocos Scene Documentation with AI: Making Code Assistants Truly Understand Your Game
Solve the pain point of AI not understanding Cocos Creator game project structure. Learn CLAUDE.md configuration, automatic scene documentation generation prompts, and MCP Server solutions to make Claude Code/Cursor truly understand your game project.
Part 6 of 21
Next
Cocos Sprite Sheet in Practice: A Complete Guide to Splitting One Large Image into Animation Frames
A practical guide to Cocos Creator sprite sheets: How to split a single large image into multiple animation frames? Comparison of three tool approaches, from the professional TexturePacker to free online slicers, with a complete workflow to transform AI-generated art assets into playable Animation Clips.
Part 8 of 21
Related Posts
Small Games as Product Experiments: A Complete Guide for Indie Developers to Validate Gameplay and Monetization at Low Cost

Small Games as Product Experiments: A Complete Guide for Indie Developers to Validate Gameplay and Monetization at Low Cost
Indie Game Development: Validate Gameplay First, Build Systems Later (MVP Practical Guide)

Comments
Sign in with GitHub to leave a comment