
ComfyUI Regional Prompting for Multi-Subject Compositions: Regional, Cutoff, and Conditioning Combine
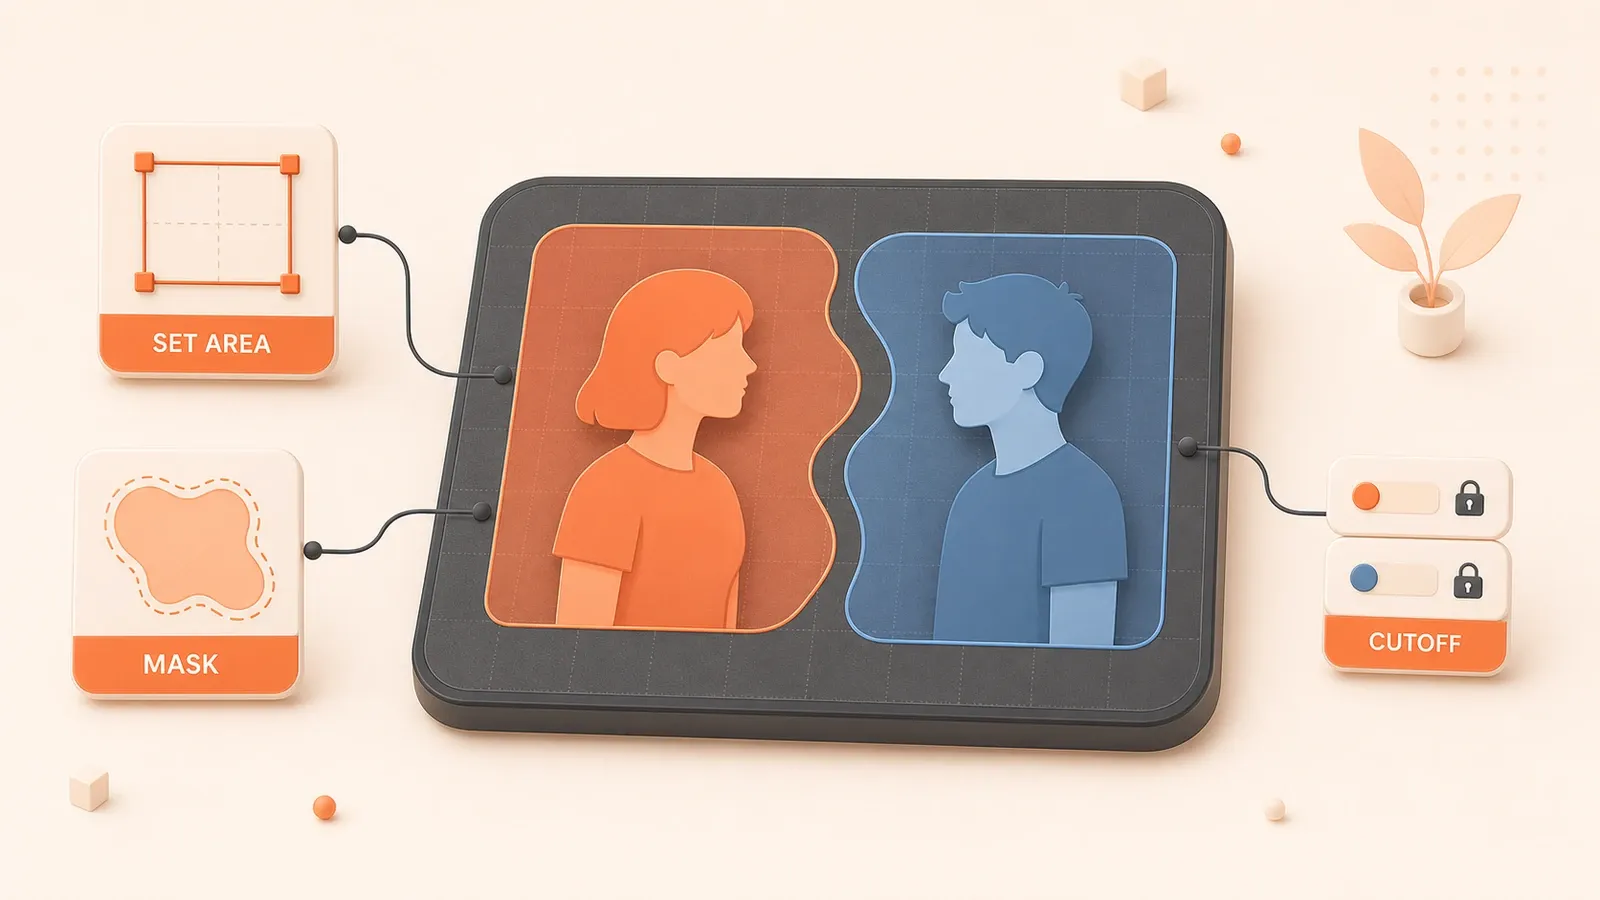
"The ComfyUI core source defines the parameters and latent-area mapping behavior of ConditioningSetArea, ConditioningSetAreaPercentage, and ConditioningCombine."
You set up a 1024x768 image with a short-haired girl in red on the left and a boy in a blue jacket on the right. The result puts red on the jacket and blue in the girl’s hair, mixing both subjects’ clothing and hair colors. This is not a seed problem or a weak model. CLIP reads the full sentence as context: in “red hair, blue jacket,” red can drift toward jacket and blue toward hair. Regional conditioning nodes can restrict a prompt to an area in the latent, but the embedding still carries globally encoded context. There are three practical routes: native coordinate regions with ConditioningSetArea + Combine, attribute binding with Cutoff, and mask-based regional sampling with Impact Pack Regional. Each solves a different problem and has different limits.
Why multi-subject prompts bleed
CLIP encodes global context
Stable Diffusion’s CLIP text encoder does not encode every word independently. It reads the sentence as context. In “blue hair, yellow eyes,” blue can influence eyes because tokens interact while the embedding is generated. ConditioningSetArea limits conditioning to a latent region, but the embedding itself still comes from global encoding, so blue can still drift toward the eyes. Regional prompts reduce spatial bleed, such as red on the left affecting the right side, but they cannot prevent token-level attribute drift, such as blue affecting eyes.
Three types of bleed
| Type of bleed | Typical symptom | Direction to take |
|---|---|---|
| Spatial bleed | Red clothing on the left affects the right; foreground blue affects the background | Regional conditioning (Set Area / RegionalPrompt) |
| Attribute bleed | In “blue hair, yellow eyes,” blue affects the eyes | Attribute binding (Cutoff) |
| Inconsistent identity | The same character has a different face with another seed | FaceID / LoRA (not covered here) |
Selection table: problem → approach → tool → poor fit
| Problem | Recommended approach | Tool nodes | Poor fit |
|---|---|---|---|
| Left-right character split | Native coordinate regions | ConditioningSetArea + ConditioningCombine | Complex masks, because coordinates must be calculated |
| Color or clothing bleed | Attribute binding | Cutoff BasePrompt + Set Region + Regions To Conditioning | Coordinate regions; SDXL requires testing because the README reports weak results with SDXL 0.9 |
| Complex mask regions | Mask-based regional sampling | Impact Pack: RegionalPrompt + CombineRegionalPrompts + RegionalSampler | Requires Impact Pack and may produce missing-node issues |
| Simple color-block masks | Simplified regional nodes | Inspire Pack: Regional Conditioning By Color Mask | Depends on Impact Pack or IPAdapter Plus |
| Incorrect poses | Pose control | ControlNet (OpenPose / Canny / Depth) | Does not solve attribute bleed |
| Inconsistent identity | Identity control | FaceID / ReActor / LoRA | Does not solve regional prompting |
A useful combination is: regional prompts set the position → OpenPose sets the pose → low-strength global conditioning at 0.3-0.5 unifies the atmosphere. You must align OpenPose, ControlNet, or IPAdapter positions with the regions manually. The nodes do not automatically know that the left OpenPose subject belongs to the left prompt region.
Native route: ConditioningSetArea + Combine
Coordinate parameters
| Parameter | Meaning | Unit | Range | Notes |
|---|---|---|---|---|
| x / y | Top-left coordinate of the region | Pixels | 0 - MAX_RESOLUTION | The coordinate origin is at the top left |
| width / height | Region width and height | Pixels | 64 - MAX_RESOLUTION, step 8 | The UI steps by 8 because the source divides values by 8 when writing to the latent |
| strength | Regional conditioning weight | Float | 0 - 10, default 1.0 | Overlapping-region weights are normalized during sampling |
The step size is 8 because ConditioningSetArea.append() writes the latent area as (height // 8, width // 8, y // 8, x // 8). A 512x512 image becomes 64x64 in latent space, so coordinates should align to multiples of 8. ConditioningSetAreaPercentage accepts values from 0 to 1 if you prefer percentages over manual pixel calculations.
Wiring from prompts to the sampler
This example splits two subjects across a 1024x768 canvas:
Step 1: region for the left-subject prompt
- Left-subject prompt → CLIP Text Encode (conditioning output)
- Conditioning → ConditioningSetArea (x=0, y=0, width=512, height=768, strength=1.0)
- Output the area-tagged conditioning
Step 2: region for the right-subject prompt

- Right-subject prompt → CLIP Text Encode (conditioning output)
- Conditioning → ConditioningSetArea (x=512, y=0, width=512, height=768, strength=1.0)
- Output the area-tagged conditioning
Step 3: combine conditioning
- Left Set Area output → ConditioningCombine (input 1)
- Right Set Area output → ConditioningCombine (input 2)
- Combine output → KSampler positive conditioning
Optional step: global background conditioning
- Background-scene prompt → CLIP Text Encode
- Conditioning → ConditioningSetArea (x=0, y=0, width=1024, height=768, strength=0.3-0.5)
- Combine it with the regional conditioning at a lower strength to unify the atmosphere
The key point is that strength is not “opacity.” It is the weight of the noise prediction. When regions overlap, multiple conditioning weights are normalized before sampling, so you do not need to calculate the total manually.
Overlapping regions and strength
When regions overlap, strength controls the mixture of their conditioning. Sampling normalizes the weights automatically. A sensible starting point is strength=1.0 for foreground subjects and strength=0.3-0.5 for global background conditioning. Lowering background strength reduces interference with the subject, but it cannot remove bleed entirely. Conflicting colors in both character prompts can still interact through CLIP’s global context.
Attribute-binding route: Cutoff
Where it fits and how it works
The classic case is blue affecting eyes in “blue hair, yellow eyes” because CLIP encodes the whole sentence as context. Cutoff aims to make an attribute affect only a specified subset of the prompt. It masks target tokens, regenerates the embedding, and uses the resulting direction to isolate attribute relationships.
Cutoff is not a coordinate-based regional prompt. It cares about token relationships, not positions. Its nodes are Cutoff BasePrompt, Cutoff Set Region, Cutoff Regions To Conditioning, and Cutoff Regions To Conditioning (ADV), under conditioning > cutoff.
SDXL warning: the README reports poor results with SDXL 0.9. Results with current SDXL or FLUX versions require testing, so Cutoff is not a reliable universal solution.
Installation and use
Installation:
- Search for
ComfyUI_Cutoffin ComfyUI-Manager - Or clone it manually with
git clone https://github.com/BlenderNeko/ComfyUI_Cutoffintocustom_nodes - Restart ComfyUI after installation
Basic flow:

- Enter the complete prompt in BasePrompt, such as “blue hair, yellow eyes”
- Define the attribute binding in Set Region, such as binding “blue” to “hair”
- Generate conditioning with Regions To Conditioning
- Optionally pass that conditioning through Set Area to restrict its position
Limits and cautions
Cutoff is a poor fit for coordinate splits. It binds token attributes but does not place “red clothing on the left and blue clothing on the right.” To address both attribute and spatial bleed, bind attributes with Cutoff first and then restrict the result with Set Area.
Its SDXL results are uncertain. The README specifically reports weak results with SDXL 0.9, and current versions need testing. If SDXL is your main model, test Cutoff on a simple workflow before depending on it.
Mask-based regional sampling: Impact Pack Regional
RegionalPrompt and RegionalSampler nodes
| Node | Input | Output | Purpose |
|---|---|---|---|
| RegionalPrompt | mask + advanced_sampler + variation_seed/strength/method | REGIONAL_PROMPTS | Binds a mask to a sampler and creates a regional prompt |
| CombineRegionalPrompts | Multiple REGIONAL_PROMPTS | REGIONAL_PROMPTS | Combines multiple regional prompts |
| RegionalSampler | base_sampler + REGIONAL_PROMPTS + overlap_factor + restore_latent | latent | Applies sampling to regions at every step |
| RegionalSamplerAdvanced | RegionalSampler inputs plus step control | latent | Uses steps instead of denoise for control |
Parameter meanings:
overlap_factor: controls the transition range outside the regionrestore_latent: restores the base latent outside the mask during regional sampling to reduce extra noise there
RegionalSampler applies regional sampling at every step. TwoSamplersForMask, by contrast, performs global sampling and then combines by mask. Per-step sampling gives the former finer control over each region.
Installation and troubleshooting
Installation:
- Search for
ComfyUI Impact Packin ComfyUI-Manager - Restart ComfyUI and refresh the browser after installation
Common troubleshooting:
- Red or missing nodes → see importing workflows and installing missing nodes
- Python dependency errors → see ComfyUI troubleshooting and maintenance, covered in a later article
Simplified route: Inspire Pack Regional Conditioning (optional)
If you do not want to calculate Set Area coordinates, a color-block mask can simplify the workflow. Inspire Pack provides these nodes:
| Node | Purpose |
|---|---|
| Regional Prompt Simple (Inspire) | Simplified regional prompt input |
| Regional Prompt By Color Mask (Inspire) | Defines regions with a color-block mask |
| Regional Conditioning Simple (Inspire) | Simplified regional conditioning |
| Regional Conditioning By Color Mask (Inspire) | Defines conditioning regions with a color-block mask |
| Regional IPAdapter Mask / By Color Mask / Encoded Mask | Regional nodes related to IPAdapter |
Some nodes depend on Impact Pack or IPAdapter Plus. Check the README dependencies before using them.
This route fits workflows that already have a color-block mask, such as red on the left and blue on the right, and where you want to avoid manual pixel calculations.
Combination boundaries and second-pass risks
Combining with ControlNet, IPAdapter, and LoRA
| Tool | What it controls | What it does not solve |
|---|---|---|
| Regional prompt (Set Area / Regional) | Position and prompt assignment | Identity consistency; attribute bleed, which Set Area does not solve |
| ControlNet (OpenPose / Canny / Depth) | Pose and structure | Attribute bleed; positional assignment |
| IPAdapter | Reference-image influence over style or composition | Regional isolation; fixed identity, because IPAdapter influences the overall style |
| FaceID / LoRA | Identity or style consistency | Regional prompts; attribute bleed |
The practical sequence is regional prompts for position → OpenPose for pose → low-strength global conditioning for a shared atmosphere. You must align OpenPose, ControlNet, or IPAdapter positions with the regions manually; they cannot automatically bind “the person on the left.”
Color bleed during a second pass, upscale, or inpaint
If a second pass, upscale, or face-repair step omits regional conditioning, the model may pursue global consistency again and mix hair or clothing colors that were separated in the first stage. The area-composition example warns that hair colors can merge when the second pass has no regional prompt.
Decide whether later passes should continue using regional conditioning or whether local Inpaint is a better fix. If the first pass used Set Area, consider setting the regions again during upscaling so the model does not restore global consistency at the expense of subject separation.
Next steps and related reading
Regional prompting is one part of multi-subject composition. Pose control, identity consistency, reference-image guidance, and high-resolution repair need other tools.
Published:
- Import workflows and install missing nodes: fixes custom-node installation and missing-node issues
- Stable Diffusion prompt template guide: prompt-writing basics for cases where one prompt cannot describe multiple subjects clearly
- ComfyUI ControlNet guide: controls pose and structure alongside regional prompt positioning
- ComfyUI LoRA guide: keeps characters or styles consistent and distinguishes multi-LoRA bleed from regional-prompt bleed
Separate guides will cover IPAdapter, FaceID and face consistency, LoRA training, high-resolution fixes, and Inpainting. Combining those tools with regional prompts can further reduce uncertainty in multi-subject scenes.
Create left and right subject regions with Set Area
On a 1024×768 canvas, assign each subject's positive conditioning to one half, then use low-strength global conditioning to unify the atmosphere.
⏱️ Estimated time: 20 min
- 1
Step 1: Set the final canvas
Set the latent or Empty Latent Image to 1024×768. Calculate every region coordinate from this final size. - 2
Step 2: Write the left-subject prompt
Use a separate CLIP Text Encode for the subject on the left. Keep its color, clothing, and hairstyle only in this local branch. - 3
Step 3: Set the left region
Connect the left conditioning to ConditioningSetArea and use x=0, y=0, width=512, height=768, and strength=1.0. - 4
Step 4: Set the right region
Create a second CLIP Text Encode and ConditioningSetArea for the right subject with x=512, y=0, width=512, height=768, and strength=1.0. - 5
Step 5: Combine the local conditioning
Merge the two area-tagged conditioning branches with ConditioningCombine and connect the output to KSampler positive. - 6
Step 6: Add low-strength global conditioning
To unify lighting or the background, add full-canvas conditioning and start with strength 0.3-0.5 so it does not override local branches. - 7
Step 7: Align pose control
For two-person positions or gestures, add OpenPose, Depth, or Canny and manually align the pose with the left and right regions. - 8
Step 8: Check later sampling passes
Before upscale, a second pass, or inpaint, decide whether to keep the regional conditioning so colors and attributes do not bleed back together.
FAQ
Are x, y, width, and height pixels or percentages?
Why should Set Area coordinates be multiples of 8?
Is Cutoff a regional prompting tool?
When should I use RegionalPrompt instead of Set Area?
How should I tune strength when regions overlap?
Why can’t the prompt match the two people in my OpenPose image?
What should I do when a node is red or missing?
9 min read · Published on: Aug 28, 2026 · Modified on: Aug 28, 2026

ComfyUI & Stable Diffusion: Setup, Models, and Workflows
If you landed here from search, the fastest way to build context is to jump to the previous or next post in this same series.
Previous
Train Your Own LoRA with ComfyUI: Data, Captions, Training, and Validation
Prepare a dataset, write captions and trigger words, tune dim, alpha, learning rates, steps, and VRAM settings, then diagnose fit and validate the LoRA in ComfyUI.
Part 10 of 16
Next
ComfyUI Upscaling and Inpainting: Hires Fix, FaceDetailer, and Local Repairs
Choose between pixel upscaling, latent resampling, FaceDetailer, manual inpainting, and tiled upscaling, then troubleshoot face drift, seams, and mask spill.
Part 12 of 16


Comments
Sign in with GitHub to leave a comment