
Browser Use Beginner Guide: Open Pages, Click Buttons, and Extract Data with an AI Agent
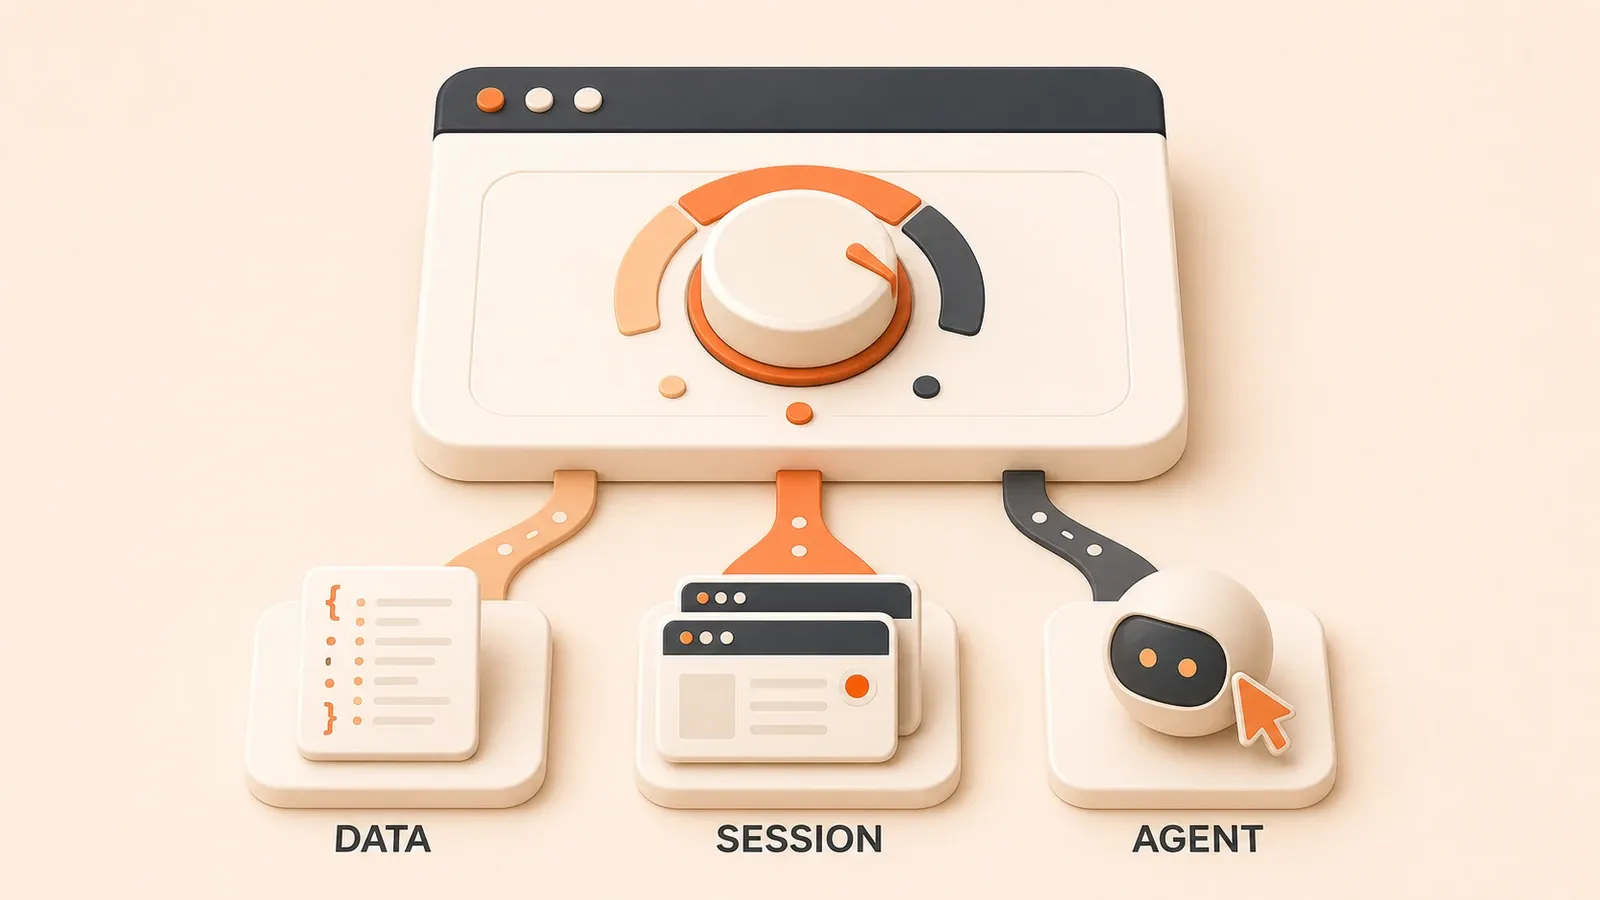
"The official Browser Use quickstart describes the Python environment, browser-use installation, uvx browser-use install, .env API keys, and the first Agent workflow."
After uvx browser-use install finishes, the next real problem is the task. If you write """open the website and take a look,""" the agent has very little to work with. It may loop, guess, or stop early.
Browser Use is an open-source Python library that lets AI control a Chromium browser for web automation. It can run locally or in a self-hosted environment without depending on Browser Use Cloud. If you already understand the Browser Agent idea, this guide takes you from installation to your first successful task, including safe configuration, result inspection, and failure debugging.
What Browser Use is: the one-sentence version
Browser Use is a Python library for AI browser automation. It lets an LLM agent operate a browser like a person: navigate, click, type, scroll, extract data, and take screenshots.
Its open-source library is designed for local or self-hosted use, not Browser Use Cloud. The open-source library and the Cloud Agent use different APIs. This guide stays with the open-source path; Cloud SDK features such as structured output, human-in-the-loop, and live preview are outside this beginner workflow.
If you are still asking """what is a Browser Agent?""", start with the Browser Agent concept article when it is published. If you already know the concept, this guide answers the practical question: how do I run one now?
Installation and setup: from uv to API keys
As of 2026-06-30, the official README and quickstart describe this setup path:
1. Python version requirement
Browser Use requires Python 3.11 or later. The official quickstart creates a Python 3.12 virtual environment, but you can choose the version that fits your machine and project.
2. Install uv (recommended)
uv is a modern Python package manager from Astral. If you do not have uv yet:
# macOS/Linux
curl -LsSf https://astral.sh/uv/install.sh | sh

# Windows (PowerShell)
powershell -c "irm https://astral.sh/uv/install.ps1 | iex"
3. Initialize a project and install browser-use
# Create a project directory
mkdir my-browser-use
cd my-browser-use

# Initialize the project
uv init

# Install browser-use with core dependencies
uv add "browser-use[core]"

# Sync dependencies
uv sync
If you do not use uv, pip also works:

pip install "browser-use[core]"4. Install the Chromium browser runtime
Browser Use relies on Playwright under the hood, so install Chromium first:
uvx browser-use installThis command downloads and configures Chromium so the agent can launch a browser instance.
5. Configure an API key
Browser Use needs an LLM connection to understand tasks and make decisions. The official quickstart recommends ChatBrowserUse, a model designed for browser tasks.
Create a .env file in your project root:
# .env
BROWSER_USE_API_KEY=your_api_key_here
If you use OpenAI, Anthropic, Google Gemini, or local Ollama, set the matching API key:
OPENAI_API_KEY=your_openai_key
ANTHROPIC_API_KEY=your_anthropic_key
GOOGLE_API_KEY=your_google_key
Write your first script: the minimal template
A minimal script has three parts: import the modules, create the agent, and run the task.
from browser_use import Agent, Browser, ChatBrowserUse
import asyncio

async def main():
    # Create a browser instance (visible while debugging)
    browser = Browser(headless=False)

    # Create the LLM instance
    llm = ChatBrowserUse()

    # Create the agent
    agent = Agent(
        task="Open quotes.toscrape.com, scroll down one screen, click the 'Next' button, and extract all quotes and authors from the second page",
        llm=llm,
        browser=browser
    )

    # Run the task with a step limit
    history = await agent.run(max_steps=20)

    # Close the browser
    await browser.close()

if __name__ == "__main__":
    asyncio.run(main())
This script does a few things:
Browser(headless=False): shows the browser window so you can debug the run. After debugging, you can change it toheadless=True.ChatBrowserUse(): uses the official browser model. You can also switch toChatOpenAI(model="gpt-4o")or another model.taskmust be concrete: do not write """open the website and look around.""" Write """navigate to X URL, scroll, click Y button, extract Z content.""" Vague tasks make the agent loop or end too early.max_steps=20: limits the agent to at most 20 actions. For a first task, 10-20 steps is a better debugging range than the default.
Run the script:
uv run python main.pyDo not let the agent run forever: max_steps is your safety line
max_steps limits how many steps the agent can execute. The official default is 100, but your first task should usually be lowered to 10-20.
Why this matters:
- The agent may hit a failed click, slow page load, blocked popup, or hidden element and keep trying the same action.
- Without a step limit, the agent can burn time and tokens while making no progress.
- The goal of the first task is to confirm that the loop works, not to complete a complex workflow perfectly. A smaller step limit helps you find the first failure faster.
Recommended settings:
# First task: 10-20 steps
await agent.run(max_steps=20)

# More complex task: increase when needed, but avoid going beyond 50 early on
await agent.run(max_steps=50)
A safe startup configuration for beginners
Do not start with your main logged-in account, and do not let the agent freely navigate anywhere. A safe first setup includes:

1. headless=False debugging mode
browser = Browser(headless=False)This shows the browser window, so you can see whether the agent clicked the wrong thing, got stuck on page load, or misunderstood the task. After debugging, switch to headless=True.
2. Restrict navigation with allowed_domains
browser = Browser(
    headless=False,
    allowed_domains=["quotes.toscrape.com"]
)
allowed_domains prevents the agent from navigating to other domains. If the task only needs one website, keep this restriction.
Browser Use supports subdomain wildcards such as allowed_domains=["*.example.com"], but it does not support TLD wildcards. allowed_domains=["example.*"] will not work. For a fixed site, the safest option is to write the full domain:
allowed_domains=["quotes.toscrape.com", "github.com"]3. Use an isolated profile instead of your main Chrome profile
browser = Browser(
    headless=False,
    user_data_dir="./browser_profile"
)
The agent will use a separate browser profile and will not access your main Chrome cookies, login state, or sensitive data. This first tutorial uses public pages only and avoids login state.
4. Do not use disable_security
The disable_security parameter disables browser security protections, and the official docs mark it as not recommended. If another tutorial tells you to use it, skip that part.
Reading results: """the browser moved""" is not enough
agent.run() returns an AgentHistoryList. Use its helper methods to inspect both the result and the process:
history = await agent.run(max_steps=20)

# Final result
result = history.final_result()
print("Final result:", result)

# Extracted content
extracted = history.extracted_content()
print("Extracted content:", extracted)

# Errors
errors = history.errors()
print("Errors:", errors)

# Whether any errors occurred
if history.has_errors():
    print("The task encountered errors")

# Visited URLs
urls = history.urls()
print("Visited URLs:", urls)

# Screenshot paths
screenshots = history.screenshot_paths()
print("Screenshots:", screenshots)

# Action names
actions = history.action_names()
print("Actions:", actions)

# Total number of steps
steps = history.number_of_steps()
print("Steps:", steps)
A common beginner mistake is watching the browser window move and assuming the task succeeded. If final_result() is empty, the agent may have stopped early or misunderstood the task. If errors() contains entries, inspect those errors before changing the prompt.
First task set: open, click, extract
Use quotes.toscrape.com as the first task environment. It is a public site built for scraping practice, has no login requirement, and keeps the page structure simple.
Task 1: open and scroll
agent = Agent(
    task="Open quotes.toscrape.com and scroll down one screen",
    llm=ChatBrowserUse(),
    browser=Browser(headless=False, allowed_domains=["quotes.toscrape.com"])
)
history = await agent.run(max_steps=10)
print("Visited URLs:", history.urls())
Task 2: click a button
agent = Agent(
    task="Open quotes.toscrape.com and click the 'Next' button at the bottom of the page",
    llm=ChatBrowserUse(),
    browser=Browser(headless=False, allowed_domains=["quotes.toscrape.com"])
)
history = await agent.run(max_steps=10)
print("Successful:", history.is_successful())
Task 3: extract content
agent = Agent(
    task="Open quotes.toscrape.com and extract all quote text and authors from the first page",
    llm=ChatBrowserUse(),
    browser=Browser(headless=False, allowed_domains=["quotes.toscrape.com"])
)
history = await agent.run(max_steps=15)
extracted = history.extracted_content()
print("Extracted content:", extracted)
Task 4: combine the steps
agent = Agent(
    task="Open quotes.toscrape.com, click the 'Next' button, and extract all quote text and authors from the second page",
    llm=ChatBrowserUse(),
    browser=Browser(headless=False, allowed_domains=["quotes.toscrape.com"])
)
history = await agent.run(max_steps=20)
print("Final result:", history.final_result())
print("Errors:", history.errors())
Where to look when the task fails
When the agent returns an empty result, throws an error, or gets stuck, work through this checklist:
1. Click failure
- Check whether
history.errors()contains """click failed""" or """element not found""" - Add a keyboard fallback to the task: """If the click fails, use Tab to focus the button, then press Enter"""
- Check
history.screenshot_paths()to see whether the element was visible
2. Empty extraction
- Check
history.urls()to confirm that the page actually opened - Check
history.screenshot_paths()to see the page state - Make sure the task is specific: """extract all quote text and authors""" instead of """look at the content"""
3. Page stuck
- Check whether
allowed_domainsblocked a navigation - Check the network connection and page loading time
- Lower
max_steps, or add timeout behavior to the task: """If the page does not load within 10 seconds, return to the homepage"""
4. Incomplete result
- Check whether
max_stepsstopped the run too early - Check
history.number_of_steps()to see how many steps were used - Rewrite the task and split it into smaller subtasks
5. Full task failure
- Check whether the API key in
.envis correct - Confirm that your model is supported: ChatBrowserUse, OpenAI, Anthropic, Google Gemini, or local Ollama
- Check whether the task is too abstract: replace """open the website and take a look""" with concrete actions
Beta Agent vs. stable API: two entry points
As of 2026-06-30, the official README describes two agent import paths:
Stable API
from browser_use import Agent, BrowserThis is the stable entry point. If you have used Browser Use before, you can keep using this path.

Beta API (0.13)
from browser_use.beta import Agent, BrowserProfile, ChatBrowserUseThis is the 0.13 beta agent, backed by a Rust core and browser harness. The official README says existing users can continue with the stable API, while new users can try the beta agent.
If you are unsure which one to use, check the current official README. This guide uses stable examples, and the beta API may differ.
Open source vs. Cloud: know the boundary
This guide uses the open-source Browser Use library and runs locally.
Browser Use Cloud is a hosted service with a different API:
- The Cloud SDK currently uses API v3
- Cloud provides structured output, human-in-the-loop, live preview, persistent profiles, and related production features
- The Cloud Python/TypeScript SDK is not compatible with the open-source library API
When Cloud starts to make sense:
- Production deployment or hosted runtime
- Advanced needs such as stealth, CAPTCHA, and proxies, which this guide does not cover
- Multiple accounts, persistent profiles, and team collaboration
This guide stays with local onboarding. Cloud usage and pricing belong in a later article.
Next steps
This tutorial covers the local Browser Use onboarding path: installation, API keys, the minimal script, opening a page, clicking a button, extracting information, and debugging failures.
Good next steps:
- Published: OpenClaw browser automation guide, Computer-Use Agent: let AI operate your computer, MCP plugins guide
- Later topics: Playwright MCP with Claude, Codex, and Cursor; Stagehand engineering; Browser Use tool selection; login state and authentication; cloud infrastructure; compliance and security
- Official docs: quickstart, prompting guide, browser config
Use quotes.toscrape.com or a public GitHub page to get the first task working before you move on to login state or Cloud.
Run your first Browser Use web automation agent
A minimal Browser Use workflow from dependency installation to result inspection, designed for validating open, click, and extract actions on a public website.
⏱️ Estimated time: 30 min
- 1
Step 1: Prepare a Python environment
Make sure your machine has Python 3.11 or later. The official quickstart uses a Python 3.12 virtual environment, but you can choose the version that fits your project. - 2
Step 2: Install browser-use
Initialize a project with uv and install browser-use[core], or install browser-use[core] with pip in an existing Python environment. - 3
Step 3: Install the Chromium runtime
Run uvx browser-use install to download and configure the Chromium runtime used by Browser Use. - 4
Step 4: Configure a model API key
Add the model key you need to .env, such as BROWSER_USE_API_KEY, OPENAI_API_KEY, ANTHROPIC_API_KEY, or GOOGLE_API_KEY. Do not put real account passwords into the prompt. - 5
Step 5: Write the minimal agent script
Create a Browser, an LLM, and an Agent. Write the task as concrete steps, such as opening quotes.toscrape.com, clicking Next, and extracting quote text with authors. - 6
Step 6: Limit the execution boundary
Use headless=False while debugging so you can watch the browser, and set allowed_domains so the agent can only visit the intended domains. - 7
Step 7: Inspect history to debug the run
After agent.run(max_steps=20), inspect final_result(), extracted_content(), errors(), urls(), screenshot_paths(), and action_names() to confirm that the task actually completed.
FAQ
What is Browser Use, and how is it different from Playwright or Selenium?
Should I use Browser Use open source or Browser Use Cloud?
Which model should I use with Browser Use?
Why does Browser Use have both beta and stable agent entry points?
How do I restrict Browser Use to a specific website?
How do I get the final result from Browser Use?
What should I do when Browser Use cannot click or extracts nothing?
Can the first Browser Use script log into my real account?
10 min read · Published on: Sep 4, 2026 · Modified on: Sep 4, 2026

Browser Automation Agent Practice Guide: Playwright, Browser Use, and Computer Use
If you landed here from search, the fastest way to build context is to jump to the previous or next post in this same series.
Previous
What Is a Browser Agent? Why AI Is Starting to Operate Browsers on Its Own
A clear guide to Browser Agent: how it differs from crawlers, RPA, Selenium/Playwright scripts, and Computer Use. Learn the five-layer stack, when to use it, when to avoid it, and how to start with Browser Use, Stagehand, Playwright MCP, and Browserbase.
Part 1 of 3
Next
Playwright MCP Guide: Let Claude, Codex, and Cursor Control the Browser
Connect official Playwright MCP browser automation to Claude Code, Codex, and Cursor: configure @playwright/mcp@latest, run your first click, screenshot, and console check, and understand accessibility snapshots, profiles, storage state, approvals, and the browser_run_code_unsafe safety boundary.
Part 3 of 3


Comments
Sign in with GitHub to leave a comment